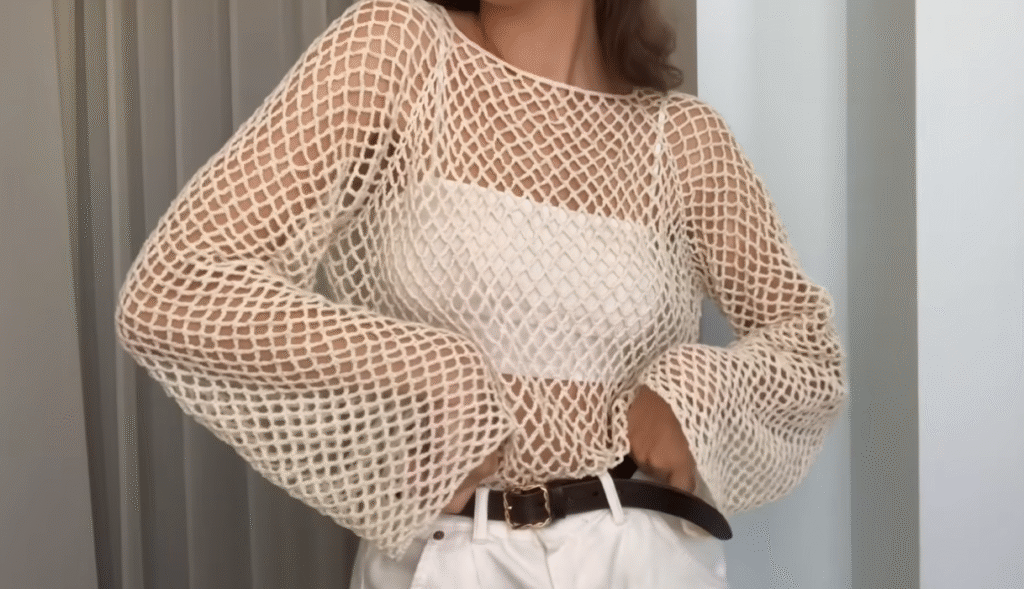
Crochet has long stepped beyond the boundaries of just scarves and granny squares. Today, it’s a full-blown art form in the world of fashion—and nothing says chic and handmade quite like a Crochet Mesh Sweater. Whether you’re looking for a breezy summer top, a fashionable layering piece for spring and fall, or simply a fun project to get lost in, the mesh sweater is your answer.
This blog post will take you on a comprehensive journey through the process of making your very own easy crochet mesh sweater. And we don’t just mean the pattern. We’re diving into every angle—what mesh crochet is, how to choose the right yarn, tips for customization, how to style it, and even ways to avoid common pitfalls. If you’re dreaming of a handmade sweater that is lightweight, breathable, and totally trendy, this is the only guide you need.
Let’s begin with the basics.
What Is a Crochet Mesh Sweater?
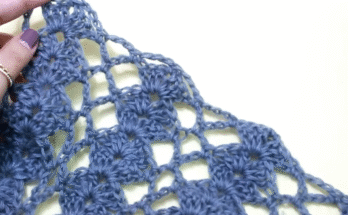
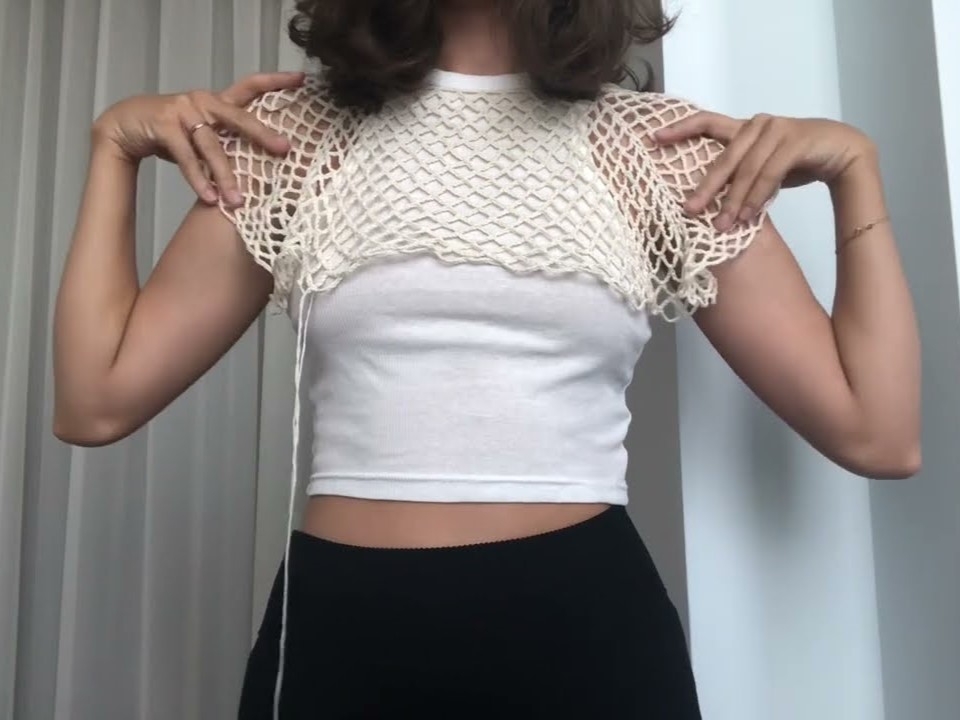
A crochet mesh sweater is a garment made with openwork crochet stitches, typically forming a grid-like or lacy fabric. Mesh sweaters are designed to be airy and lightweight, making them ideal for layering over camisoles, tank tops, or dresses.
The mesh stitch pattern is characterized by a simple repetition of chain spaces and basic stitches like single crochet, half double crochet, or double crochet. The result is a beautiful, breathable texture that works up quickly.
A mesh sweater is:
- Easy to customize in length, width, and sleeve type
- Great for beginners looking to venture into garment making
- Perfect for warm weather or as a fashionable layering piece
- A fantastic stash-buster project due to its low yarn consumption
Why Choose a Mesh Sweater as Your First Garment Project?
Crocheting your own sweater might sound intimidating, but a mesh sweater is the perfect way to ease into garment-making. Here’s why:
- Simple construction: Most mesh sweaters are worked in basic panels—front, back, and sleeves—which are then seamed together.
- Forgiving fit: Due to the openness of the stitch pattern, mesh sweaters are less dependent on perfect sizing.
- Quick to finish: Because of the open spaces, mesh fabric grows faster than denser stitch patterns.
- Beginner-friendly: You don’t need to master complicated shaping or stitch combinations.
With a few stitches and simple techniques, you’ll be well on your way to creating something stylish, wearable, and completely your own.
Materials and Tools You’ll Need
Before you dive in, let’s go over everything you’ll need for your project. You don’t need anything fancy—just a few essentials and a little patience.
Yarn
When choosing yarn for a mesh sweater, think about drape, softness, and breathability.
Recommended yarn weights:
- Sport
- DK (double knit)
- Light worsted
Suggested fibers:
- Cotton or cotton-blend yarn for structure and breathability
- Bamboo or Tencel yarn for an ultra-soft drape
- Lightweight wool blends for cooler months
Yardage estimate:
- XS–S: 700–850 yards
- M–L: 900–1100 yards
- XL–XXL: 1200–1400 yards
It’s always a good idea to buy a little extra in case you want to make adjustments or add embellishments later.
Crochet Hook
Choose the hook size recommended for your yarn. For an extra-drapey finish, you can go up a size or two.
Suggested hook sizes:
- 4.0 mm (G) to 6.0 mm (J), depending on yarn weight and desired drape
Other Supplies
- Tapestry needle for weaving in ends
- Stitch markers for marking increases, decreases, or pattern repeats
- Measuring tape for checking gauge and measurements
- Scissors
- Blocking tools (optional but highly recommended for best shape)
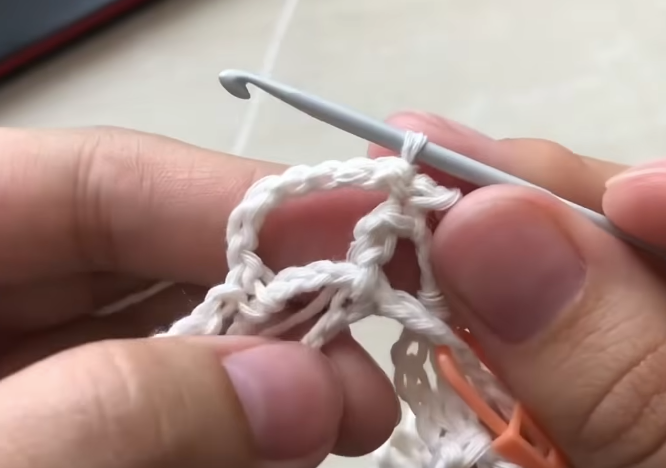
Stitch Guide: The Mesh Magic
There are a few ways to create a mesh stitch pattern, but for this tutorial, we’ll use the classic double crochet mesh.
Mesh Stitch Pattern (Worked in Rows)
Row 1: Chain a multiple of 3 + 1
Row 2: Dc in 4th ch from hook, *ch 1, skip next ch, dc in next ch; repeat from * across
Row 3: Ch 3 (counts as dc), *ch 1, skip next ch, dc in next dc; repeat from * across
Repeat Row 3 for pattern.
This mesh pattern is lightweight, easy to memorize, and works up quickly. Now that you’ve mastered it, let’s move on to designing the sweater.
Planning Your Mesh Sweater
Before you dive into the pattern, take a moment to think about what kind of sweater you want to create.
Step 1: Decide the Fit
Mesh sweaters are naturally flowy, but you can tweak the fit to suit your taste.
- Boxy fit: Great for layering, oversized and comfy
- Fitted: More structure and shape, works well with high-waisted jeans or skirts
- Cropped: Fashion-forward and ideal for summer
- Tunic-length: Great for pairing with leggings
Step 2: Choose Sleeve Style
- Cap sleeves for a summer top
- Short sleeves for casual everyday wear
- Long sleeves for transitional weather
- Bell sleeves for a boho look
Step 3: Neckline Style
- Boat neck (easy to make, flat and wide)
- Scoop neck (a bit more shaping, feminine)
- V-neck (adds elegance and elongates the torso)

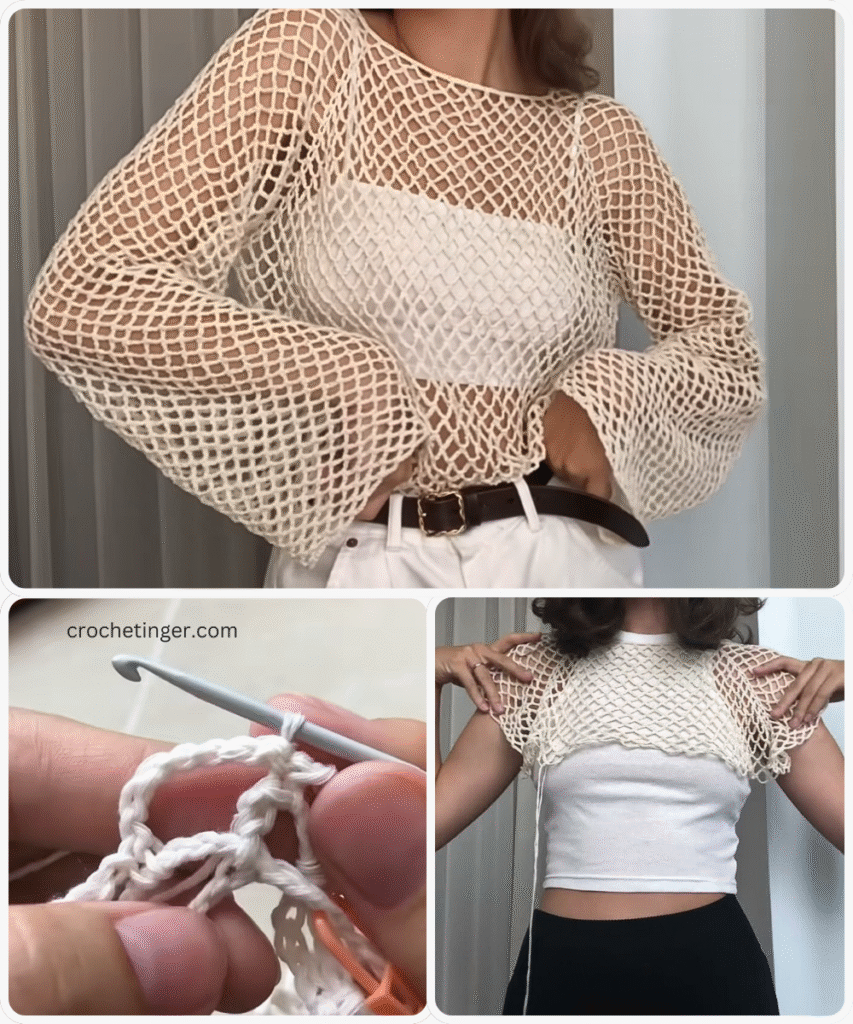
Easy Mesh Sweater Pattern (Step-by-Step)
This pattern uses two rectangles for the body and two for the sleeves. It’s a great modular design, and you can easily tweak the length or width.
Measurements
Let’s create a Medium size (can be adjusted up or down using measurements below)
Bust: 38″
Length: 22″
Sleeve Length: 18″
Gauge: 4” = 14 stitches and 6 rows in mesh pattern
Front and Back Panels (Make 2)
Chain 83 (or adjust in multiples of 3 + 1 to achieve desired width)
Row 1: Dc in 4th chain from hook, *ch 1, skip 1 ch, dc in next ch; repeat from * across. Turn.
Row 2: Ch 3, *ch 1, skip 1 stitch, dc in next dc; repeat from * across. Turn.
Repeat Row 2 until panel measures 22″ in length.
Fasten off and weave in ends.
Sleeves (Make 2)
Chain 65 (adjust based on how wide you want the sleeve to be)
Work in mesh stitch for 18″ or desired sleeve length.
Fasten off and weave in ends.
Assembly Instructions
- Lay front and back panels on top of each other with the right sides facing in.
- Seam the shoulders together using whip stitch or mattress stitch, leaving space for the neckline (about 9–10 inches).
- Seam each sleeve to the shoulder opening.
- Fold the sweater at the shoulder seam and seam along each side and sleeve.
- Turn right side out.
Optional Edging
For a polished look, you can add a simple single crochet or reverse single crochet (crab stitch) border around the neckline, sleeve openings, and bottom hem.
Styling Your Mesh Sweater
Once your mesh sweater is ready, it’s time for the fun part—styling it!
Summer Chic
Pair a white mesh sweater with a bright camisole and denim shorts. Add espadrilles for a breezy, casual look.
Boho Vibes
Layer a long mesh tunic over a tank dress with knee-high boots and chunky jewelry.
Office Ready
Tuck a mesh sweater into high-waisted trousers and layer with a blazer for a light yet stylish office outfit.
Weekend Casual
Throw it over a basic tee with leggings and sneakers for a go-anywhere weekend look.
Customizing Your Sweater
The beauty of this project lies in its flexibility. Once you’ve got the basic construction down, you can mix things up in endless ways:
- Add stripes: Use color changes to create horizontal stripes or ombré effects
- Go sleeveless: Skip the sleeves and finish the armholes with a neat edging
- Create a hood: Add a hood for a casual, hoodie-style mesh sweater
- Play with textures: Use alternating rows of solid stitches and mesh for added interest
Common Troubleshooting Tips
Sweater too tight or too loose?
Check your gauge before starting, and adjust hook size if needed.
Edges curling?
Try blocking the panels before seaming. Mesh tends to curl, especially if tension is uneven.
Sleeves feel awkward?
Adjust the width of your sleeve panels. Remember, mesh stretches, so don’t be afraid to experiment.
Neckline too wide?
Add a few rounds of single crochet around the neckline to tighten it up slightly.
Blocking Your Sweater
Blocking helps your sweater lay flat and opens up the mesh stitch pattern. Here’s how to do it:
- Soak your sweater in lukewarm water with a bit of gentle wool wash.
- Gently squeeze out excess water (don’t wring).
- Lay flat on a towel and pin to measurements.
- Let dry completely before unpinning.
This step is optional but highly recommended for the best results.
Why Every Crocheter Should Try Making a Mesh Sweater
There’s something incredibly rewarding about wearing something you made with your own two hands. A mesh sweater is the perfect intersection of creativity and practicality. It’s lightweight, stylish, and truly seasonless.
As a beginner, it builds your confidence and helps you understand garment shaping and construction. As an experienced crocheter, it gives you a blank canvas for experimenting with colors, textures, and techniques.
No matter your skill level, there’s always something new to discover in a simple project like this one.
Video Tutorial:
Final Thoughts
Creating an easy crochet mesh sweater is more than just a fun weekend project—it’s a statement. A statement that says comfort and fashion can coexist. That simple stitches can make sophisticated pieces. That handmade clothing can rival store-bought fashion in both beauty and quality.
We hope this guide has inspired you to grab your hook and yarn and start creating your very own mesh masterpiece. And remember, perfection isn’t the goal—expression is.
So go ahead. Make it your own. Change the colors. Add a trim. Pair it with your favorite skirt or jeans. This is your sweater, and the possibilities are endless.
If you enjoyed this post and want more crochet garment tutorials, sign up for our newsletter or check out our other in-depth patterns and styling guides.
Happy crocheting!
You may be interested:
- Crochet Women Cardigan: A Complete Step-by-Step Guide
- Easy Crochet Pillow Cover: A Stunning DIY for Home Decor Enthusiasts
- How to Crochet a Charming Daisy Motif: A Step-by-Step Pattern
- Crochet Lace Waves Motif