In today’s world, where organization and aesthetics go hand in hand, having versatile storage solutions is essential. One of the most charming, functional, and satisfying DIY projects you can undertake is making a crochet square basket. It’s not only a stylish way to tidy up your space, but it’s also a delightful project that even beginners can tackle with success.
If you’re searching for a complete guide to creating your own crochet square basket, you’ve come to the right place. This detailed blog will take you step-by-step through everything you need to know — from selecting materials to finishing your project like a pro. Whether you’re a seasoned crocheter or just picking up a hook for the first time, this tutorial will equip you with the skills to create a sturdy, beautiful basket that will serve you for years to come.
Let’s dive right in!
Why Crochet a Square Basket?
Before we grab our yarn and hooks, let’s explore why crochet square baskets have become a must-have accessory for homes, offices, and even as thoughtful gifts.
Practical Storage Solution
A crochet square basket can hold anything from yarn and craft supplies to toiletries, toys, books, or office supplies. They’re ideal for organizing spaces while adding a personal, handcrafted touch.
Customizable Design
From bright and bold colors to muted neutrals, from small trinket holders to large laundry baskets, you can fully customize the size, color, and even the texture of your crochet basket.
Eco-Friendly Choice
Rather than purchasing plastic or synthetic storage options, crocheting your own baskets with natural fibers offers a sustainable and environmentally friendly alternative.
Perfect Handmade Gift
Crochet baskets make excellent gifts for birthdays, baby showers, housewarmings, and holidays. Fill them with other handmade goodies or store-bought treats to create a personalized gift package.
Skill-Building Project
Making a crochet basket helps you practice and master essential techniques like working in rounds, creating sturdy fabrics, and shaping corners.
Now that you know why you should crochet a basket, let’s gather our tools.
What You’ll Need: Materials and Tools
The beauty of a crochet square basket lies in its simplicity, and the materials you need are basic and easy to find.
Essential Supplies
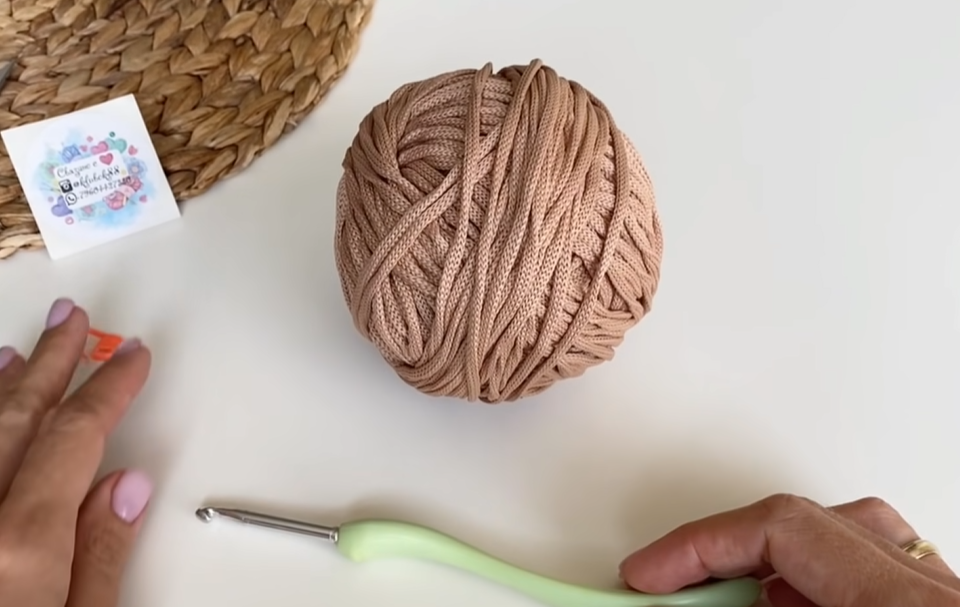
- Yarn: Choose a sturdy, thick yarn for best results. Cotton yarn is highly recommended for its durability and stiffness. You may also use t-shirt yarn, rope yarn, or even crochet two or three strands together for added strength.
- Crochet Hook: Use a hook appropriate for your yarn size. For bulky yarn, a 6.5 mm (K-10.5) or larger hook is often ideal.
- Scissors: Sharp scissors for clean cuts.
- Yarn Needle: For weaving in the ends neatly.
- Stitch Markers (optional): To keep track of rounds and corners.
Optional Extras
- Plastic Canvas: If you want extremely rigid sides, you can insert plastic canvas pieces into your basket.
- Fabric Liner: Sewing a simple liner can add strength and a polished look.
Having these supplies ready will make the process smoother and much more enjoyable.
Choosing the Best Yarn for Crochet Baskets
Not all yarns are created equal when it comes to making baskets. Here’s what you should consider:
Best Yarn Types
- Cotton Yarn: Strong, sturdy, washable, and maintains shape.
- T-Shirt Yarn: Recycled fabric yarn that’s stretchy and durable.
- Rope or Macramé Cord: Great for ultra-sturdy, rustic-looking baskets.
- Chunky Wool: Provides warmth and softness but may need reinforcement.
Yarn Weight
Look for super bulky (category 6) or bulky (category 5) yarns to create a thick, sturdy basket that stands on its own.
If using thinner yarn, you can crochet multiple strands together for added thickness.
Essential Crochet Stitches to Know
Before you start, make sure you’re comfortable with these basic stitches:
- Chain stitch (ch): Foundation stitch to start your project.
- Single crochet (sc): The main stitch for creating dense, firm fabric.
- Slip stitch (sl st): Used for joining and finishing.
- Half double crochet (hdc): Sometimes used for decorative effects or increased flexibility.
Don’t worry if you’re still learning — a crochet basket project is a great way to practice these fundamental skills.
Crochet Square Basket: Step-By-Step Instructions
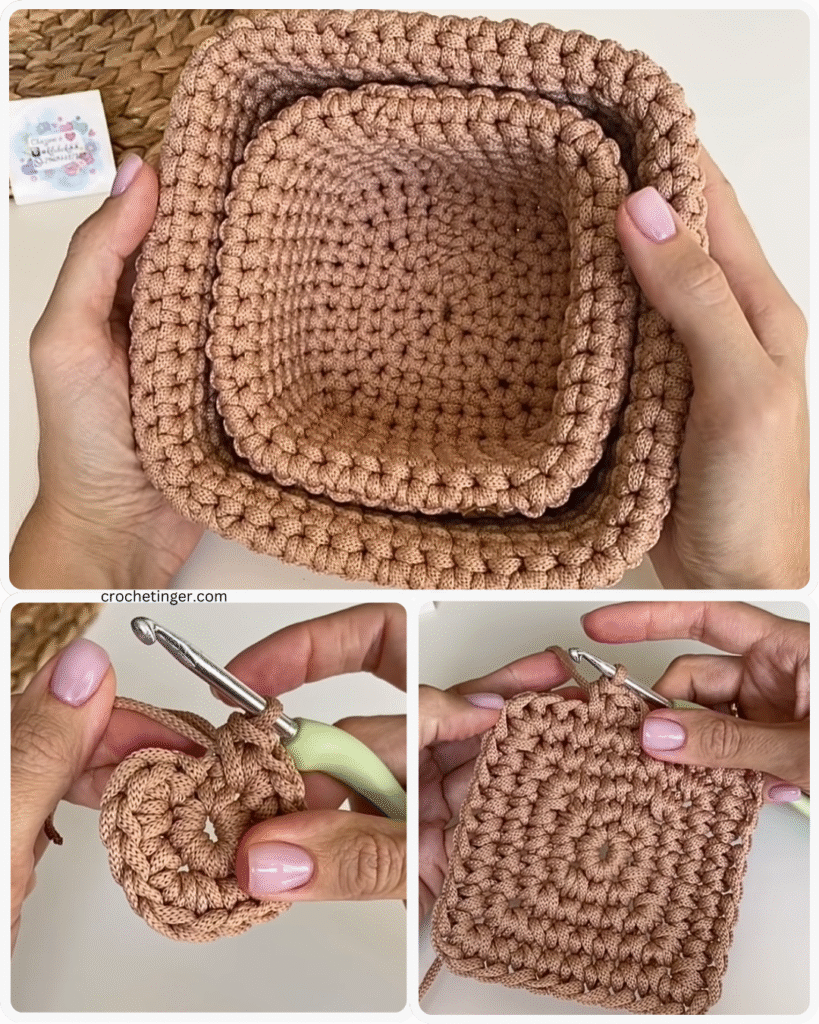
Let’s get to the fun part: making your basket! We’ll start with a square base and work our way up to build the sides.
This method ensures clean, sturdy corners and a professional-looking result.
Pattern Overview
- Work a solid square for the base.
- Create sides by crocheting around the perimeter without increasing.
- Shape corners by reinforcing stitches.
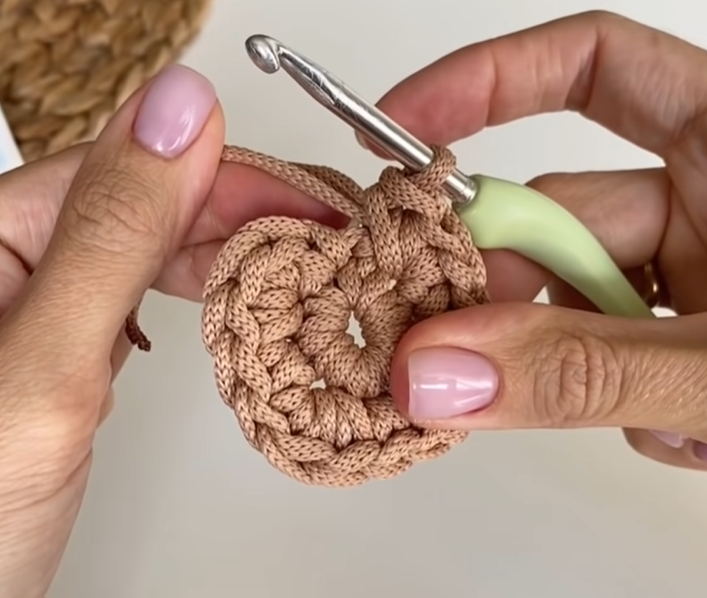
Foundation Base (Solid Square)
- Start with a Magic Ring
If you’re comfortable, use a magic ring to begin. Otherwise:- Ch 4, sl st to the first ch to form a ring.
- Round 1
- Ch 2 (counts as first hdc), work 11 hdc into the ring.
- Join with a sl st to the top of the ch-2. (12 stitches total)
- Round 2
- Ch 2, hdc into the same stitch.
- 2 hdc into each stitch around.
- Join with a sl st. (24 stitches)
- Forming the Square
Transition from a circular base to a square:- Ch 2, hdc in the same stitch.
- Hdc in next 2 stitches, (hdc, ch 2, hdc) in next stitch (corner).
- Repeat * around.
- Sl st to the top of the ch-2 to join.
- Expanding the Square
Each round:- Hdc across sides.
- (Hdc, ch 2, hdc) in each corner space.
Continue adding rounds until the square base reaches your desired size.
Tip: For a small basket, about 6–8 inches square is perfect. For a large basket, go 10–12 inches.

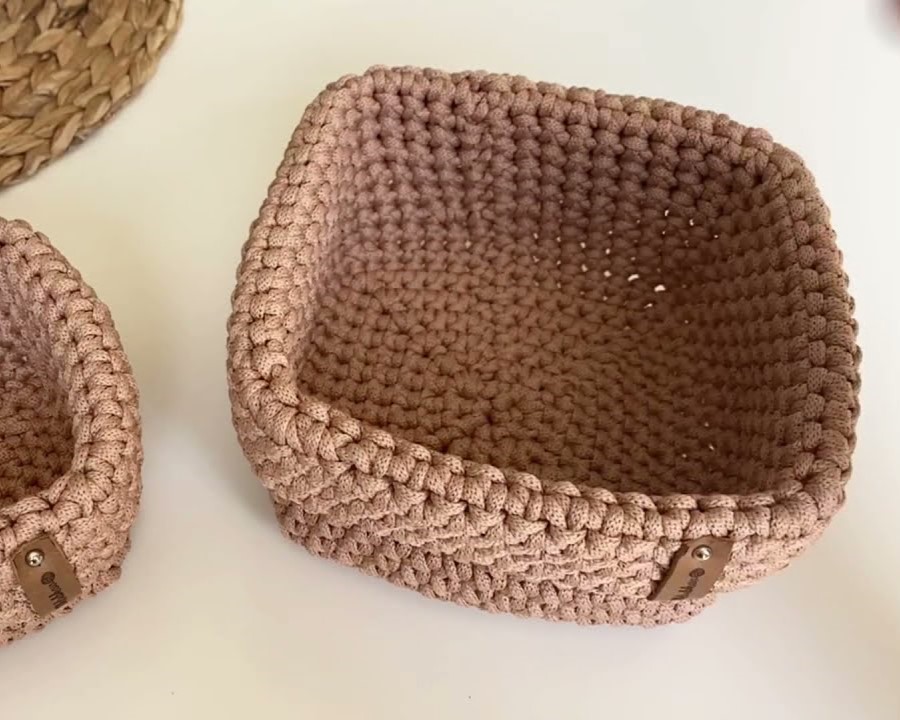
Building the Sides
Once the base is complete:
- Working into the back loops only (BLO), hdc around the entire square.
- Do NOT increase at the corners anymore.
- Sl st to join, ch 2, and repeat for each round.
Working into the BLO helps create a sharp 90-degree angle for your sides.
Continue building rounds until the sides are the height you want (typically 4–8 inches).
Reinforcing the Structure
For a sturdier basket:
- Crochet tighter by dropping one hook size.
- Insert plastic canvas between layers.
- Add extra rows at the top edge with single crochet for reinforcement.
Creating Handles (Optional)
To add handles:
- On a side, hdc until you reach the desired location.
- Ch 6–10 (depending on how big you want the handle).
- Skip the corresponding number of stitches.
- Resume hdc across.
- Repeat for the opposite side.
Work additional rounds around the handles to reinforce them.
Finishing Touches
- Weave in all loose ends securely using your yarn needle.
- Block your basket slightly by shaping it with your hands.
- Steam lightly (optional) to set the shape if using natural fibers like cotton.
Congratulations! You’ve completed a practical and beautiful crochet square basket.
Creative Variations to Try
Once you’ve mastered the basic basket, you can experiment with countless variations:
Color Blocking
Use one color for the base and another for the sides.
Striped Baskets
Change yarn colors every few rounds to create bold stripes.
Textured Stitches
Instead of plain hdc, try:
- Moss stitch
- Waffle stitch
- Suzette stitch
These add visual interest and extra sturdiness.
Lids
Crochet a matching square lid with a small handle on top to create a closed storage box.
Nested Baskets
Make a set of baskets in decreasing sizes that fit inside each other.
Decorated Edges
Add crab stitch (reverse single crochet) around the top edge for a decorative, sturdy finish.

Troubleshooting Common Basket Issues
Even experienced crocheters sometimes run into problems. Here’s how to fix them:
Wavy Base
- Solution: Use fewer increases per round or tighten your tension.
Basket Sides Collapse
- Solution: Use thicker yarn, crochet tighter, or insert stiffeners like plastic canvas.
Uneven Corners
- Solution: Make sure you always place (hdc, ch 2, hdc) into the corner spaces.
How to Care for Crochet Baskets
Crochet baskets made with durable yarns are quite hardy, but here’s how to ensure they last:
- Spot clean with a damp cloth.
- Hand wash gently if necessary.
- Lay flat to dry to maintain shape.
- Avoid machine washing unless the yarn label specifically says it’s safe.
Adding a fabric liner makes baskets easier to clean and extends their life.
Great Uses for Your Crochet Square Basket
Need ideas for how to use your new basket? Here are some of the best ways:
- Toy storage for a nursery
- Yarn and craft supply organizer
- Bathroom toiletries holder
- Planter cover
- Entryway catch-all for keys and sunglasses
- Gift basket for birthdays and holidays
- Office desk organizer
- Pet toy bin
Video Tutorial:
Why You’ll Love Making Crochet Baskets
Crocheting baskets taps into the core of what makes crafting satisfying: practicality, creativity, and joy. Every stitch is an act of love — for your home, your hobbies, and the people you share your handmade pieces with.
Crochet baskets are incredibly beginner-friendly yet endlessly customizable, offering the perfect balance of easy learning and creative expansion.
Final Thoughts: Start Hooking Your Way to Organization and Style
Creating a crochet square basket is more than just a project — it’s an invitation to blend art and function into your daily life. Whether you’re organizing your craft room, decorating your living room, or putting together a heartfelt handmade gift, a crochet basket stands as a symbol of care, creativity, and craftsmanship.
Grab your yarn, pick your favorite colors, and start stitching today. You’ll be amazed at how satisfying it is to transform a simple skein of yarn into a stylish, useful accessory for your space.
Happy crocheting, and may your baskets be as full as your heart!
You may be interested: