
Knitting is a versatile and enjoyable craft that allows you to create beautiful and cozy garments, accessories, and home decor items. As you progress in your knitting projects, you may find it necessary to change yarn colors or switch to a new skein of the same color. Whether you’re working with stripes, colorful patterns, or just running out of yarn, learning how to change yarn smoothly is an essential skill for any knitter. In this detailed step-by-step guide, we’ll walk you through the various ways to flawlessly change yarns in your knitting projects.
Skill Level: beginner
Materials You’ll Need:
- Your knitting project in progress
- New yarn in the desired color
- Yarn needle
- Scissors
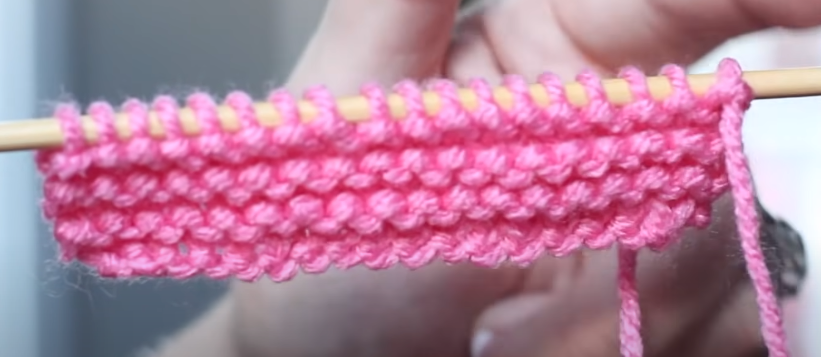
Method 1: Replacing yarn of the same color
If you are working on a project with one color, such as a scarf or blanket, you will need to switch to a new skein of yarn when the current one runs out. Follow these steps to seamlessly switch to a new skein of the same color:
- Prepare a new skein of yarn. Before you start, make sure you have a new skein of yarn ready. If the yarn is wound into a ball, find the end of the yarn. If it is a skein, you need to roll it into a ball before continuing.
- Pick the Right Moment: To ensure a smooth transition, change yarn at the end of a row or row. This will hide the connection on subsequent lines.
- Leave the tail: before cutting off the old yarn, leave a tail about 15 cm long to weave it later.
- Attach new yarn: Take a new skein of yarn and keep it parallel to the working yarn. Use the working yarn and the new yarn together to knit the first few stitches of the next row or row. This secures the new yarn in place.
- Continue knitting: Now throw off the old yarn and continue knitting with the new yarn only.
- Weave the Ends: After completing your project, weave the ends of the old and new yarn together securely with a yarn needle.
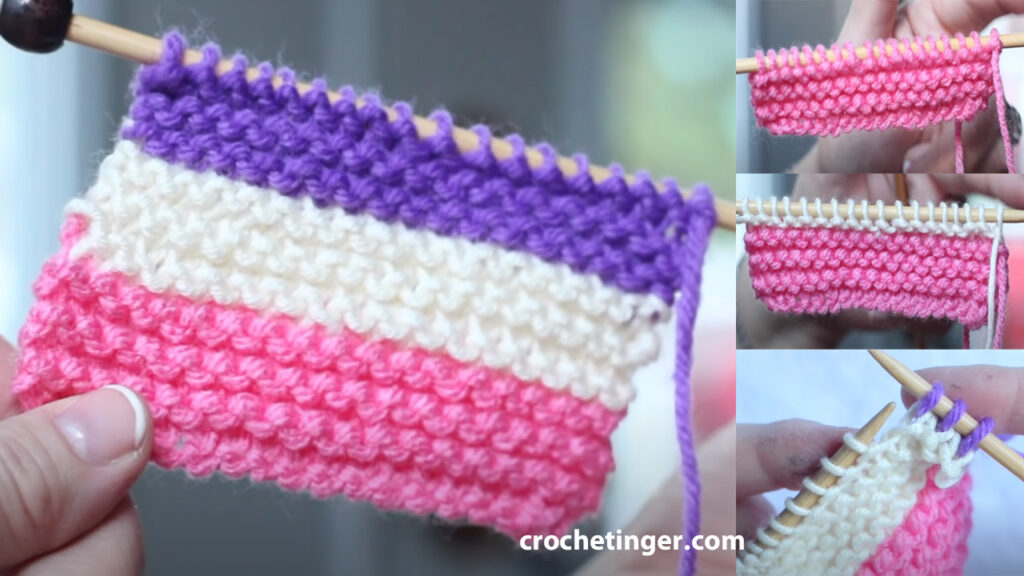
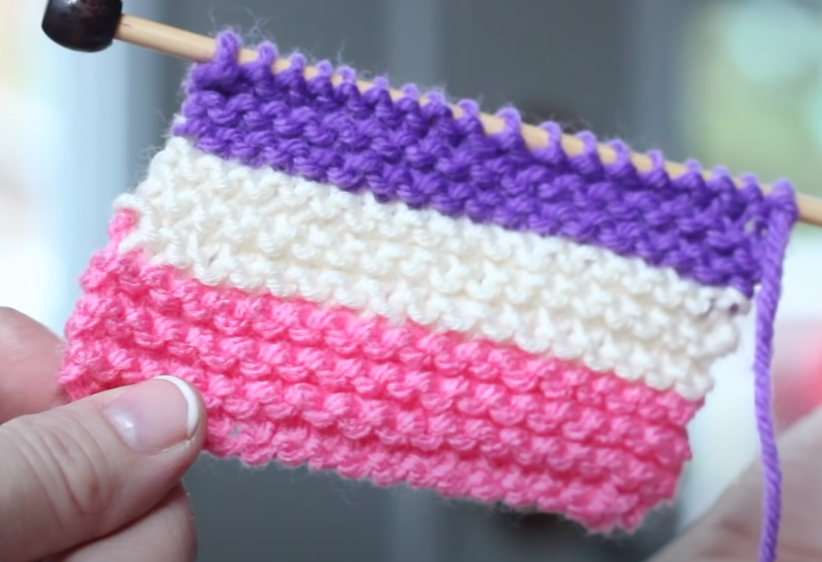
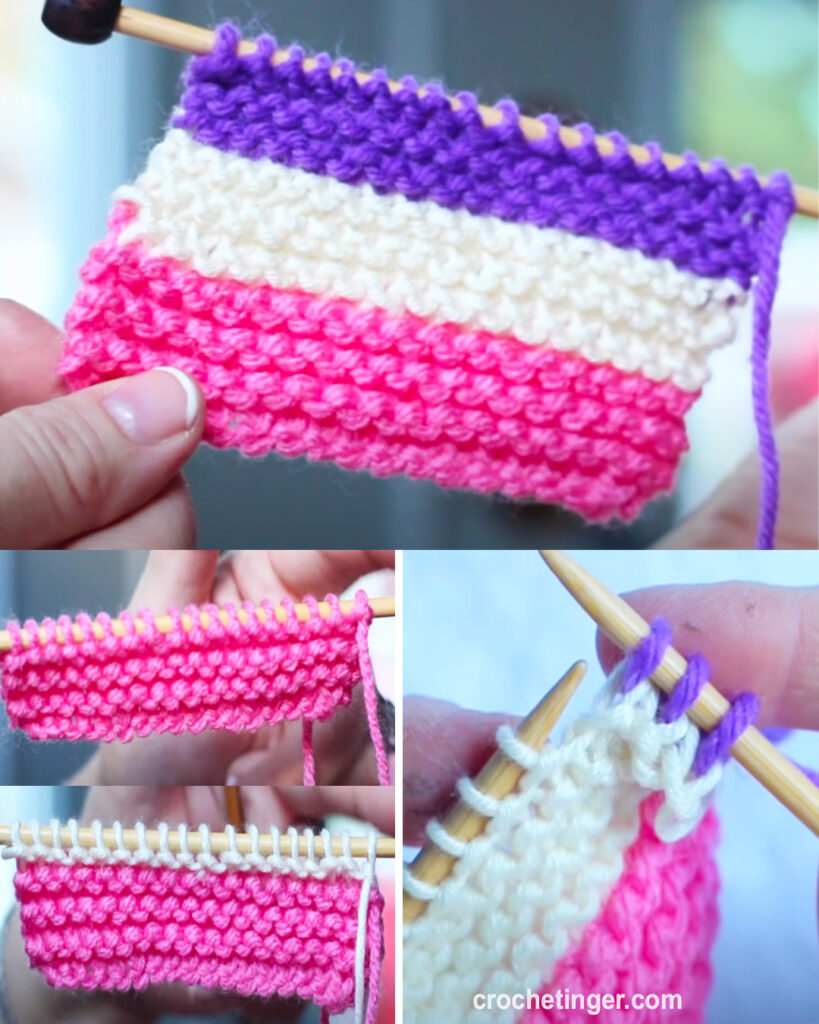
Method 2: Changing yarn to stripes or colored knitting
If your project involves stripes or color patterns, then careful yarn changes become even more important to achieve clean and crisp color transitions. Follow these steps for a smooth color change:
- Prepare New Yarn: Make sure you have a new color of yarn ready in the correct length. If the new color has not yet been attached to your piece, leave a tail of the new color about 15 cm long and keep it parallel to the working yarn.
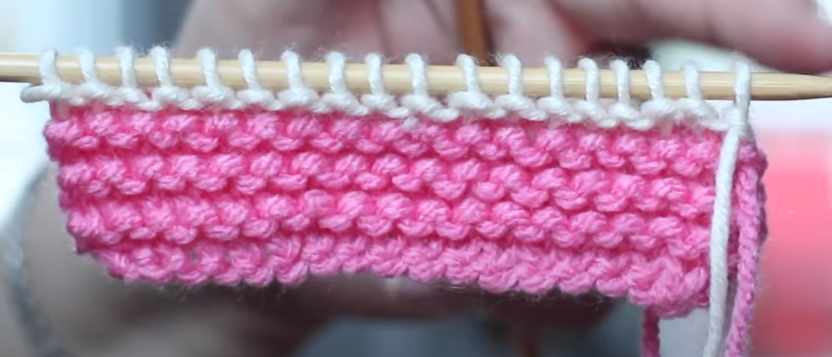
- Select the right Row: change the yarn at the end of the row or in the round for a more sophisticated look.
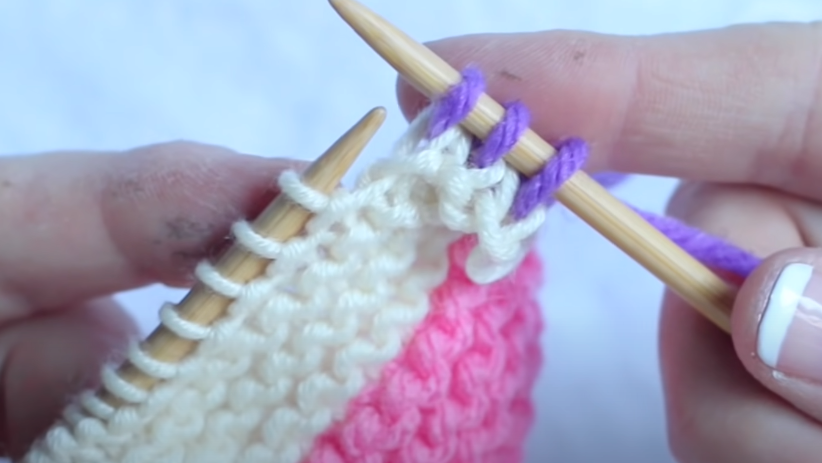
- Knit a transition: knit the last stitch of the old color and the first stitch of the new color together. This will connect the two colors and prevent any gaps or holes.
- Carry the Yarn: If you are working with multiple colors in a row, carry the unused yarn on the side of your work, twisting the yarn every few stitches to avoid holes. Be careful not to pull the thread too tight, as this can warp the fabric.
- Continue with the new color: once the new yarn is secured, remove the old color and continue with the new color.
- Weave the Ends: After completing your project, weave the ends of both colors securely with a yarn needle.
Method 3: Attaching to a New Ball of Yarn
When knitting large items such as blankets or sweaters, you may need to join a new ball of yarn when the previous one is almost ready. Here’s how to do it smoothly:
- Prepare a new ball. Before you run out of yarn, prepare a new ball by winding it into a ball or attaching it to your working yarn.
- Leave a tail: leave a tail about 15 cm from the old ball of yarn.
- Join Knit a new ball: connect the end of the old yarn and the beginning of the new yarn. Knit a few stitches with both threads to secure the new ball in place.
- Continue knitting with new yarn: once the new yarn has been secured, remove the old yarn and continue knitting with the new yarn only.
- Weave the ends: After completing the project, weave the ends of both strands securely with a yarn needle.
Tips for a Smooth Yarn Change:
- When switching yarns, make sure to keep the tension consistent to avoid loose or tight stitches.
- Weave in the yarn tails on the wrong side of the knitting project to keep the right side clean and neat.
- If changing yarns at the beginning of a row, consider starting the new yarn on the wrong side to hide the join better.
- When adding stripes or color patterns, carry the unused yarn loosely along the edge of the work to prevent holes and to make it easier to switch back to the original color.
Video tutorial:
Final Thoughts:
Changing yarn in knitting is a fundamental skill that allows you to create visually appealing projects and complete them seamlessly. Whether you’re changing colors for stripes or simply transitioning to a new skein of yarn, these techniques will ensure your knitting projects look polished and professional. Remember to take your time, and with practice, you’ll become a master at changing yarn effortlessly in your knitting endeavors. Happy knitting!
You may be interested:
- How To Crochet A Very Easy Rose Flower Motif Making for Beginners – Free Pattern
- Crochet baby blanket cardigan design – Free Pattern
- How To Crochet A Round Crochet Template with Two Lines in One – Free Pattern
- How to Crochet a Charming Daisy Motif: A Step-by-Step Pattern
One Comment on “How to Change Yarn in Knitting: A Step-by-Step Guide”