Crocheting is a timeless craft that allows you to add a personal touch and a touch of elegance to your creations. One of the most delightful ways to elevate your crochet projects is by adding a beautiful border or edge. Whether you’re working on a cozy blanket or embellishing a simple towel, a carefully crafted crochet border can transform your creation into a work of art. In this guide, we will walk you through the step-by-step process of creating stunning crochet borders and edges for your blankets and towels.
Skill Level: Beginner
Materials Needed:
- Crochet hooks (appropriate size for your yarn)
- Yarn in your chosen color(s)
- Yarn needle
- Scissors
- Measuring tape
- Stitch markers (optional)
- Patience and creativity
Abbreviations:
- ch: chain
- sc: single crochet
- hdc: half double crochet
- dc: double crochet
- sl st: slip stitch
- st(s): stitch(es)
Pattern:
- Preparation: Before starting, make sure your blanket or towel is clean and neatly folded. Choose the yarn color that complements the main piece. You can use a matching color for a subtle look or a contrasting color for a pop of color.
- Attach Yarn: Start by attaching the yarn to any corner of the blanket or towel using a slip stitch.
- Round 1: Single Crochet Base:
- Chain 1 (does not count as a stitch here and throughout).
- Work evenly spaced single crochet stitches along the edge of the fabric. The exact number of stitches will depend on the size of the stitches in your fabric and your personal preference.
- When you reach a corner, work 3 single crochet stitches in the same corner stitch to turn the corner smoothly.
- Continue working single crochet stitches along each edge, making sure to work 3 single crochet stitches in each corner.
- Round 2: Decorative Stitch:
- Chain 1.
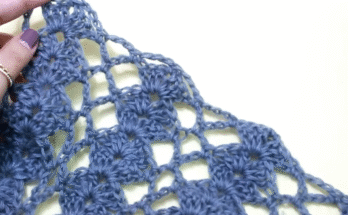
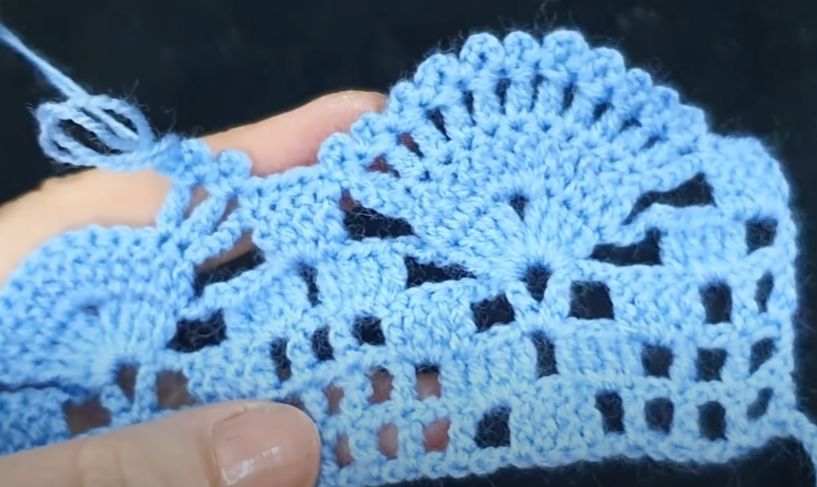
- Work a round of your chosen decorative stitch. A common choice is the “shell” stitch:
- (2 dc, ch 1, 2 dc) all in the same stitches. This creates a shell-shaped cluster of stitches.
- Skip a certain number of stitches (this can vary depending on your fabric and desired look).
- Repeat the (shell, skip stitches) pattern around the entire blanket/towel, making sure to work (2 dc, ch 1, 2 dc) in each corner.
- Round 3: Half Double Crochet:
- Chain 2 (counts as the first half of double crochet).
- Work a half double crochet in each stitch around and in the ch-1 spaces of the previous round.
- In the corners, work (2 hdc, ch 2, 2 hdc) to create a slightly taller corner stitch.
- Round 4: Slip Stitch and Finish:
- Chain 1.
- Work a slip stitch in each stitch around and in the ch-2 corner spaces. This creates a neat finished edge.
- Finishing:
- Fasten off your yarn and cut, leaving a tail for weaving in.
- Use a yarn needle to weave in the loose ends on the back side of your work.
- Blocking (Optional):
- If desired, you can block your finished piece to even out the stitches and make the border lay flat. Follow yarn care instructions for blocking.
Step-by-step guide:
Step 1: Choose Your Yarn and Hook
Select a yarn that complements your project and a crochet hook that corresponds to the recommended hook size on the yarn label. If you want a delicate edge, choose a finer yarn and a smaller hook; for a chunkier look, opt for thicker yarn and a larger hook.
Step 2: Plan Your Design
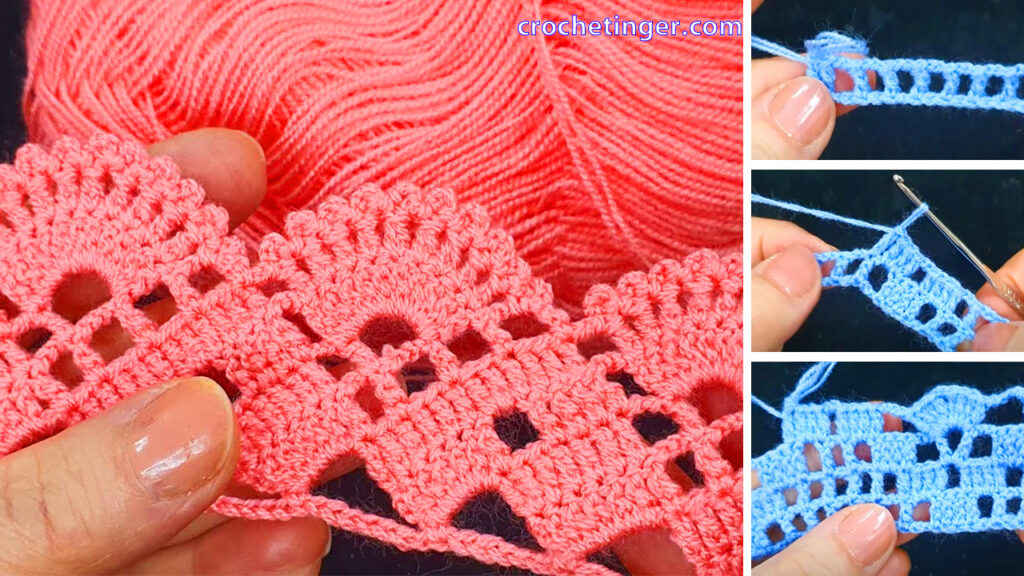
Decide on the type of border you want for your project. Common options include scalloped edges, picot edges, ruffled edges, or simple single-crochet borders. Sketch or visualize the design to ensure you know the stitch pattern you’ll be using.
Step 3: Measure Your Project
Use a measuring tape to determine the length of each side of your blanket or towel. This will help you calculate the number of stitches needed for your border. Consider marking the corners with stitch markers to make it easier to count stitches.
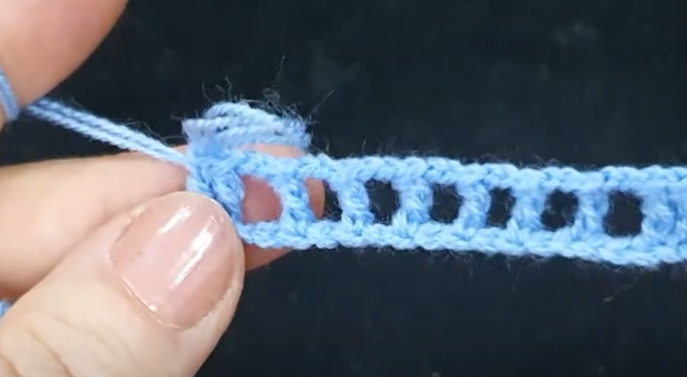
Step 4: Start Crocheting the Border
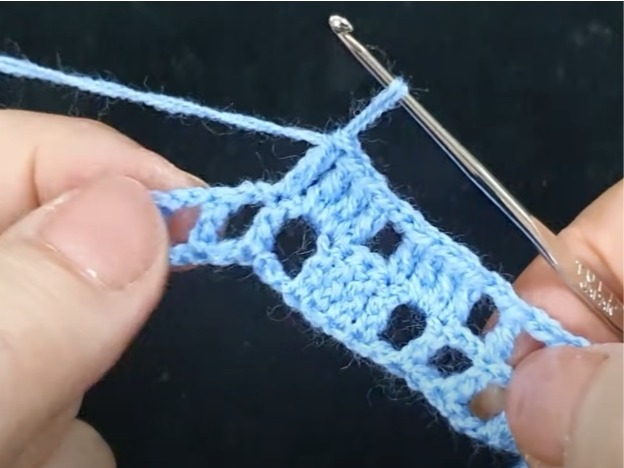
Begin crocheting along one edge of your project. For a clean look, create a foundation row of single crochet stitches, evenly spaced along the edge. This will serve as the base for your border.
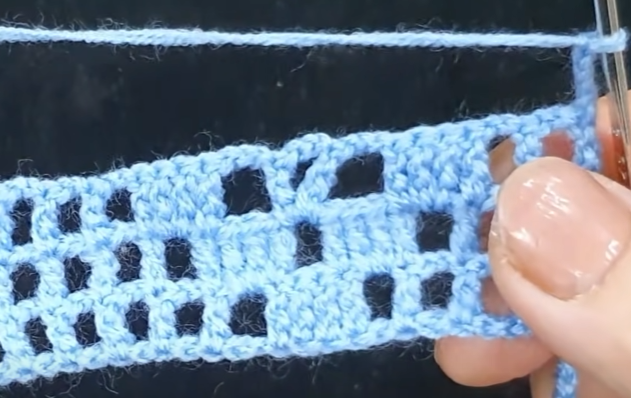
Step 5: Apply Your Chosen Border Stitch
Work the chosen border stitch pattern across the foundation row. Be consistent with your stitch placement to maintain an even and polished look. If you’re using different colors, ensure smooth color changes by carrying the unused yarn along the edge and crocheting over it.
Step 6: Corner Techniques
As you approach a corner, plan how you’ll navigate it. Most corners are worked with additional stitches (such as multiple single crochets) or special corner stitches. This will prevent your border from curling and create a neat corner.
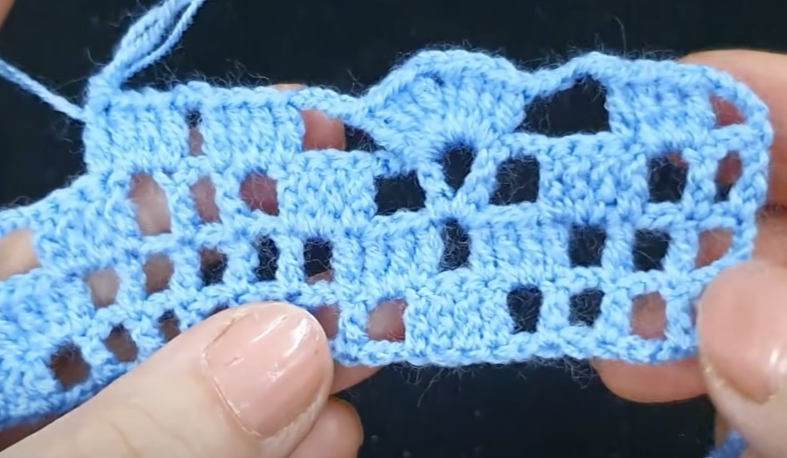
Step 7: Repeat the Stitch Pattern
Continue working on your chosen stitch pattern along each side of your project, remembering to apply corner techniques when needed. Keep an eye on your stitch count to ensure the border remains even.
Step 8: Joining the Border
When you’ve completed the border on all sides, join it to the beginning stitch. You can do this with a slip stitch or a seamless join, depending on your preference.
Step 9: Weaving in Ends
Use a yarn needle to weave in any loose ends from color changes or joining. Make sure your ends are secure and inconspicuous.
Step 10: Blocking (Optional)
Blocking your finished project can enhance the overall look of your border. Gently steam or dampen your work and shape it to your desired dimensions. Allow it to dry thoroughly before using or gifting it.
Video tutorial 1:
Video tutorial 2:
Conclusion:
Adding a crochet border or edge to your blankets and towels can elevate your handmade creations to new heights of elegance. With the right yarn, hook, and dash of creativity, you can transform simple projects into cherished heirlooms. Remember, practice makes perfect, so don’t be afraid to experiment with different stitch patterns and techniques to find the perfect border for your projects. Happy crocheting!
You may be interested:
- Crochet baby blanket cardigan design – Free Pattern
- How To Crochet A Round Crochet Template with Two Lines in One – Free Pattern
- How to Crochet a Charming Daisy Motif: A Step-by-Step Pattern