
Crocheting baby booties can be a delightful and meaningful project for crafters of all levels. Whether you’re creating a heartfelt gift for a loved one or simply indulging in your crochet hobby, making baby booties is a rewarding endeavor. In this comprehensive guide, we’ll take you through the process of crocheting adorable baby booties, step by step.
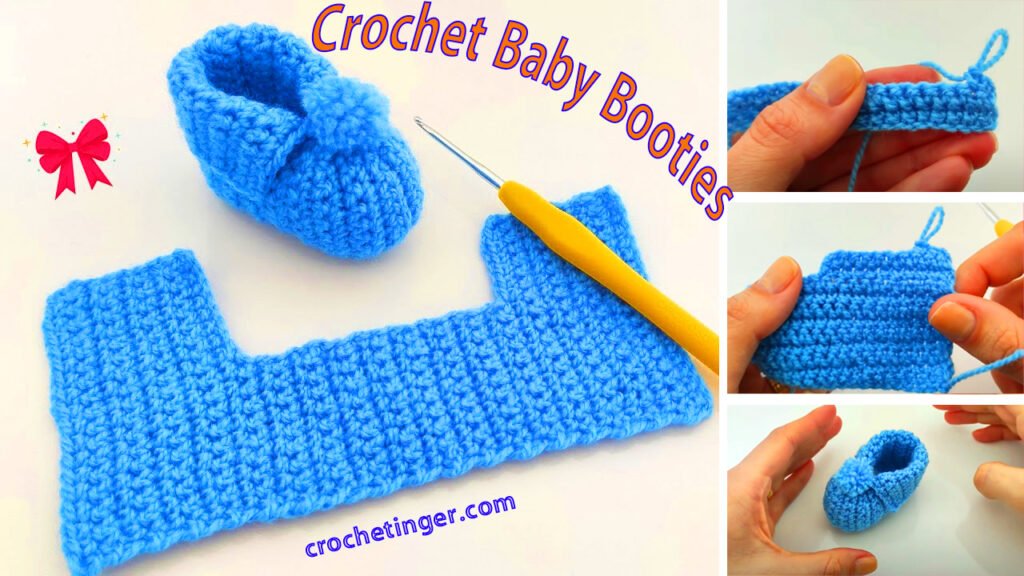
Introduction to Crocheting Baby Booties
Before we dive into the nitty-gritty of crocheting baby booties, let’s familiarize ourselves with the basics of crochet. Crocheting is a versatile and creative craft that involves using a crochet hook and yarn to create fabric. It’s a fantastic way to make personalized items, and baby booties are a charming project for both beginners and experienced crocheters.
Understanding the Basics of Crocheting
Crocheting primarily involves making loops with yarn to form stitches. The basic stitches include the chain stitch (ch), single crochet (sc), double crochet (dc), and half-double crochet (hdc). For baby booties, you’ll typically use single-crochet and double-crochet stitches, making it an accessible project for those who are just starting.
Now that we’ve brushed up on the crochet essentials, let’s gather the materials needed for this delightful project.
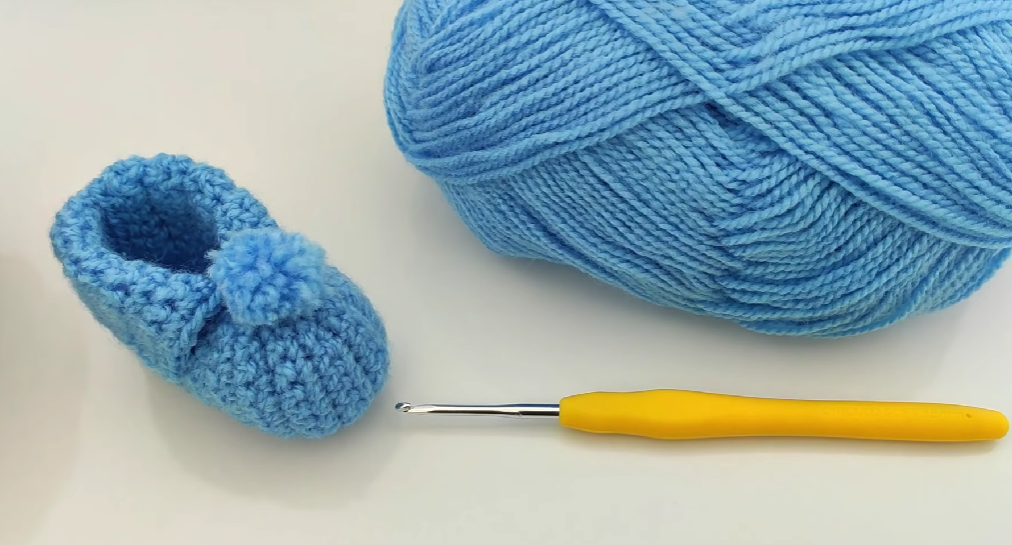
Materials You’ll Need
Creating a pair of baby booties requires a few key materials and tools. Ensuring you have the right supplies from the outset will make your crocheting journey smoother and more enjoyable.
Selecting the Right Yarn and Crochet Hook
The choice of yarn and crochet hook size plays a crucial role in determining the booties’ size, comfort, and overall appearance. Opt for a soft, baby-friendly yarn in your preferred color. A size G or H crochet hook is generally suitable for baby booties, but you can adjust the size as needed for a looser or tighter stitch.
Gathering Additional Supplies
In addition to yarn and a crochet hook, you’ll need a few other supplies:
- Yarn needle for weaving in ends
- Scissors for trimming yarn
- Stitch markers are used to keep track of your rounds
- Buttons, ribbons, or other embellishments for decoration
- A tape measure to check the gauge and bootie size
With your materials ready, let’s begin our journey to crafting adorable baby booties.
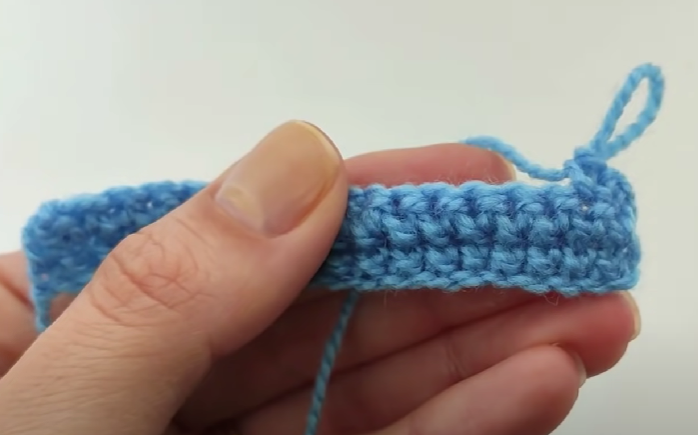
Getting Started: Creating a Foundation Chain
The first step in crocheting baby booties is creating the foundation chain. This chain serves as the base upon which you’ll build the booties.
Determining Bootie Size
The size of your foundation chain will vary depending on the bootie size you intend to make. Refer to a baby bootie size chart or measure the baby’s foot for accuracy.
Creating the Foundation Chain
To create the foundation chain:
- Make a slipknot at the end of your yarn.
- Insert your crochet hook into the slipknot.
- Yarn over and pull through the slipknot loop to create your first chain stitch.
- Continue this process until your foundation chain reaches the desired length.
With your foundation chain complete, it’s time to move on to form the sole of the bootie.
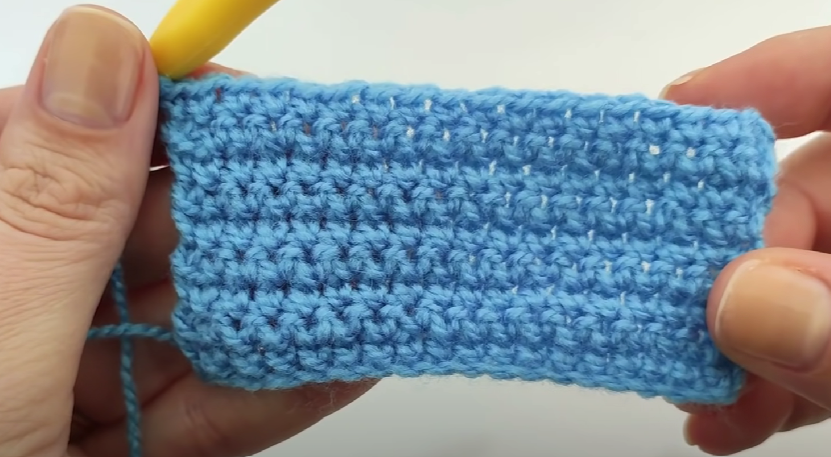
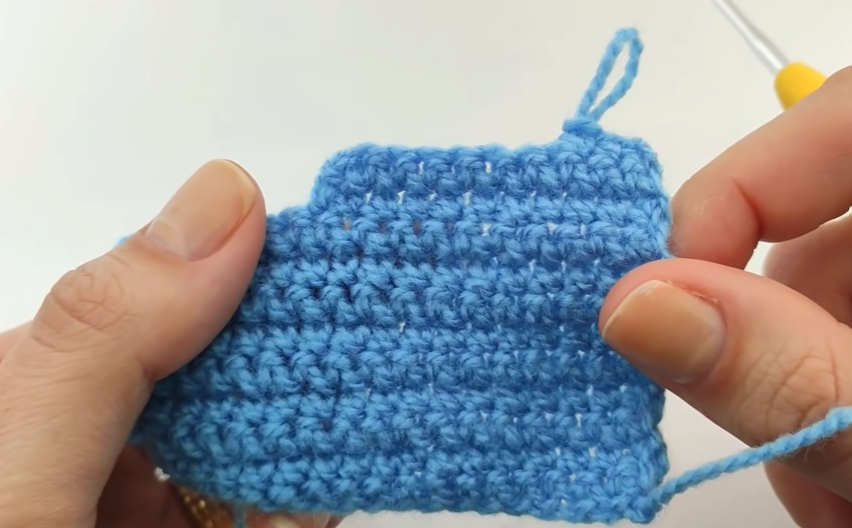
Forming the Sole
The sole is the foundation of the baby bootie, providing comfort and support for tiny feet. Creating the sole is a critical step in the bootie-making process.
Working the First Round
To start forming the sole:
- Single-crochet into (the second chain) from the hook.
- Single-crochet in each chain across, working to the end.
- At the end of the row you’ve created, chain one and turn your work.
Shaping the Sole
Continue working in rows, gradually increasing the number of stitches to form the sole’s shape. Pay attention to your pattern instructions to ensure the proper fit for the bootie size you’re making.
Now that we’ve established the sole, it’s time to build the bootie’s body.
Building the Bootie
With the sole in place, it’s time to build the bootie’s body. This is where your crocheting skills truly shine as you create the unique design of the bootie.
Adding Height to the Bootie
To add height to the bootie, you’ll work in rounds rather than rows. This allows you to create a seamless and snug fit around the baby’s foot. Follow your chosen pattern’s instructions to determine the number of rounds required.
Creating the Toe and Heel
The toe and heel are distinct features of baby booties. Depending on your design, you may use various stitch patterns or techniques to shape these areas. Make sure to follow the pattern carefully for the desired look.
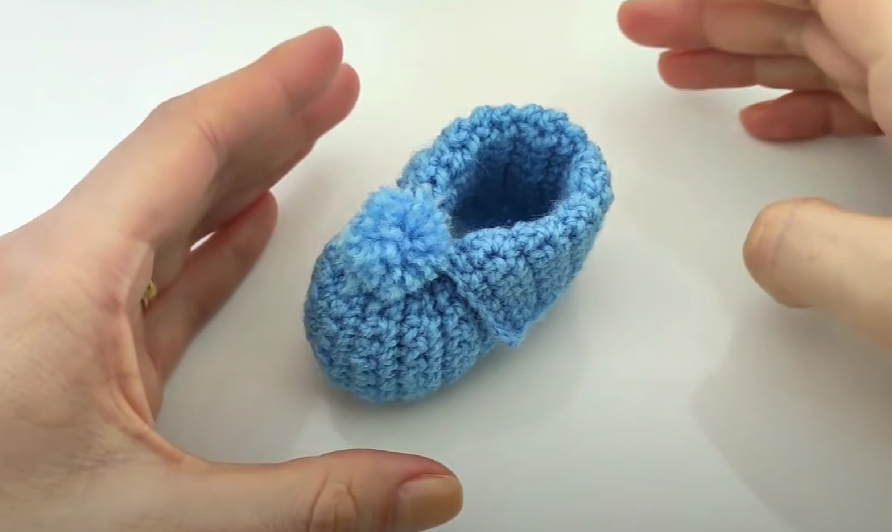
Adding Embellishments and Personal Touches
Now that the basic bootie is complete, it’s time to add your personal touch. Consider embellishing the booties with buttons, bows, or crocheted flowers. These decorative elements not only enhance the booties’ appearance but also make them more unique.
Continue to Part 2 for the final steps of crocheting baby booties, along with care instructions and presentation tips.
Video tutorial:
Conclusion:
Crocheting baby booties is a heartwarming and creative endeavor that allows you to craft a special gift for a cherished baby in your life. By following a pattern, gathering the right materials, and taking it one step at a time, you can create adorable and cozy booties that will be treasured for years to come. So, pick up your crochet hook and start crocheting your way to a memorable handmade gift today!
Frequently Asked Questions (FAQs)
- Q1: Can I use any type of yarn for baby booties?
- A1: It’s recommended to use soft, baby-friendly yarn, like cotton or acrylic, to ensure comfort and safety.
- Q2: Are baby booties suitable for beginners?
- A2: Yes, there are beginner-friendly patterns available. Start with simple designs and gradually work your way up.
- Q3: How long does it take to crochet a pair of baby booties?
- A3: The time varies depending on your skill level and pattern complexity. On average, it may take a few hours to complete a pair.
- Q4: Can I customize the booties with different colors or designs?
- A4: Absolutely! Feel free to get creative and personalize your baby booties with colors and embellishments of your choice.
- Q5: Are there any safety considerations when crocheting for babies?
- A5: Be mindful of small parts like buttons or beads that could pose a choking hazard. Ensure all attachments are secure.
Now that you have the knowledge and a pattern in hand, grab your crochet hook and get ready to create adorable baby booties that will warm hearts and tiny toes alike!
You may be interested:
- How to Crochet a Gorgeous Red Rose: A Step-by-Step Guide
- Crochet baby blanket cardigan design – Free Pattern
- CROCHET SQUARE WITH DIFFERENT HIGHLIGHTS – Free Pattern
- How to Crochet a Beautiful Slipper: A Step-by-Step Guide


