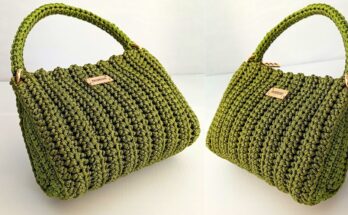
Crochet bags have taken the DIY world by storm, offering a mix of practicality, style, and handmade charm. Among the many stitch patterns used to craft these bags, the diamond stitch stands out for its eye-catching texture and elegant structure. While it may look intricate at first glance, the diamond stitch can be surprisingly accessible even to newer crocheters—especially when broken down in a step-by-step format. In this guide, you’ll learn how to craft your very own Easy Crochet Diamond Stitch Bag, complete with full stitch instructions, customization ideas, and tips for creating a polished final product.
Whether you’re new to crochet or just looking for a satisfying, stylish project to add to your collection, this pattern is the perfect mix of fun, functional, and fashionable.
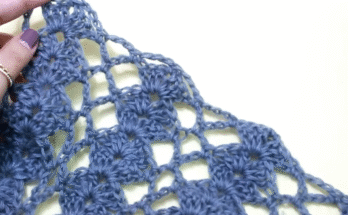
What Is the Crochet Diamond Stitch?
The diamond stitch creates a raised or embossed diamond pattern across your crochet fabric. It’s made by combining basic stitches like double crochets, single crochets, and post stitches (particularly front post treble crochets), which are used to form the outlines of the diamonds.
What makes the diamond stitch so great for bags?
- It adds structure to your crochet fabric
- It creates a subtle 3D effect without making the fabric too stiff
- It looks sophisticated and works beautifully in solid colors
- It makes your finished bag durable, stylish, and unique
You’ll often see the diamond stitch in pillows, blankets, scarves, and garments—but using it in a bag pattern gives your project that high-end boutique feel with a handmade heart.
What You’ll Need: Tools and Materials
Before we jump into the pattern, let’s cover everything you’ll need to create your own diamond stitch bag.
Yarn
Choose a sturdy yarn that holds its shape well. Cotton, cotton blends, or tightly twisted acrylic yarns are excellent choices.
Recommended:
- Worsted weight yarn (category 4)
- Yardage: approximately 400–500 yards for a medium-sized tote bag
- You can use a single color for an elegant look or choose two tones for more visual impact (one for body, one for handles or edges)
Crochet Hook
Use a hook size that corresponds to your yarn. Check the yarn label, but as a general guide:
- Hook size: 5.0 mm (H-8) or 5.5 mm (I-9)
Smaller hooks produce a tighter texture, which is ideal for bags that need to be sturdy and not too stretchy.
Additional Supplies
- Scissors
- Yarn needle for weaving in ends
- Stitch markers (optional but helpful)
- Lining fabric (optional for a more professional finish)
- Magnetic snap or button closure (optional)
- Handles (crocheted or store-bought leather handles)
The Anatomy of the Diamond Stitch
Understanding the structure of the stitch is key to working it successfully. The diamond stitch pattern typically involves a series of front post treble crochets (FPtr) worked over several rows to build the diamond outlines. These are framed with background stitches like single crochet (sc) or double crochet (dc), depending on your chosen variation.
The FPtr stitches are “dropped” down into previous rows and worked around the post of existing stitches, creating raised lines that form the diamond edges. Once you’ve worked a few rows, the texture emerges clearly and beautifully.
We’ll go over the full stitch breakdown in the pattern section below.

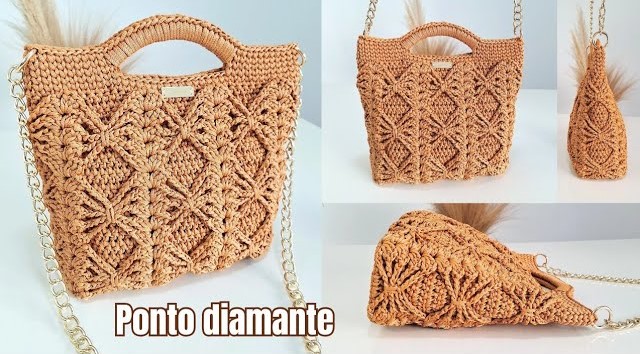
Pattern Overview: Easy Crochet Diamond Stitch Bag
This project will walk you through making a rectangular bag worked from the bottom up, with two panels (front and back) joined together at the end. You can add handles of your choice, and we’ll include optional lining tips at the end.
Finished Size
- Approx. 14” wide x 12” tall (excluding handles)
- Depth: 3–4” if gusset added (optional)
Skill Level
- Easy to intermediate (great for confident beginners ready to learn post stitches)
Gauge (Optional but Recommended)
- 16 stitches x 12 rows = 4” x 4” in single crochet
Stitch Abbreviations (US Terms)
- ch = chain
- sc = single crochet
- dc = double crochet
- tr = treble crochet
- FPtr = front post treble crochet
- st = stitch
- sl st = slip stitch
- RS = right side
- WS = wrong side
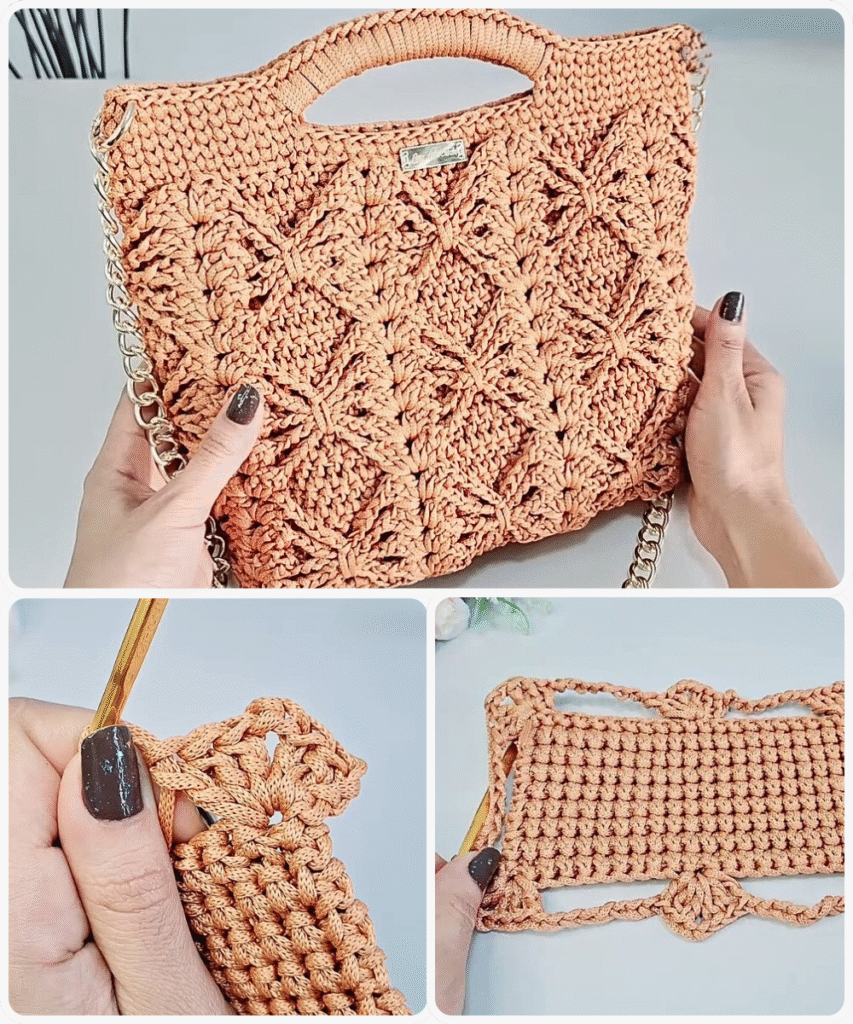
Step-by-Step Pattern Instructions
Step 1: The Foundation Chain
Using your chosen yarn and hook:
Chain 53 (or any multiple of 8 + 5 to adjust size)
This base chain gives you enough width to accommodate multiple diamonds across the width of the bag.
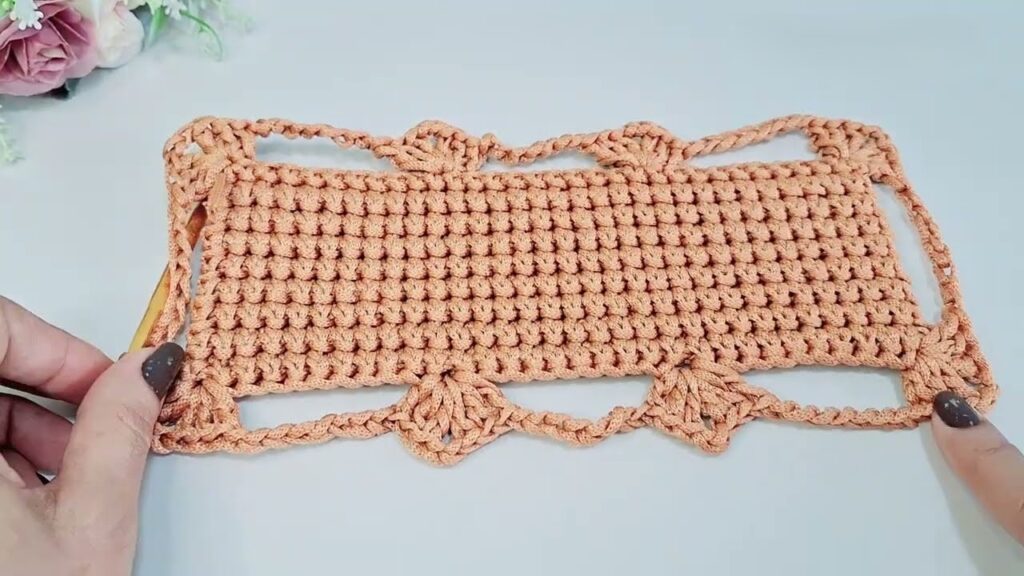
Step 2: Row 1 – Set Up the Base
Sc in the second ch from hook and across. (52 sts)
Turn.
This creates a firm foundation for the diamond stitch to sit on.
Step 3: Row 2 – Background Row
Ch 1, sc across.
Turn.
We want two rows of sc before we start the diamonds to keep the base neat.
Step 4: Row 3 – First Diamond Base
Ch 1, sc in next 3 sts, FPtr around the post of the stitch 2 rows below (Row 1), skip the stitch behind it, sc in next 4 sts. Repeat from * to end. End with 3 sc.
Turn.
You’ve started laying down the diagonal bars that will form the sides of the diamonds.
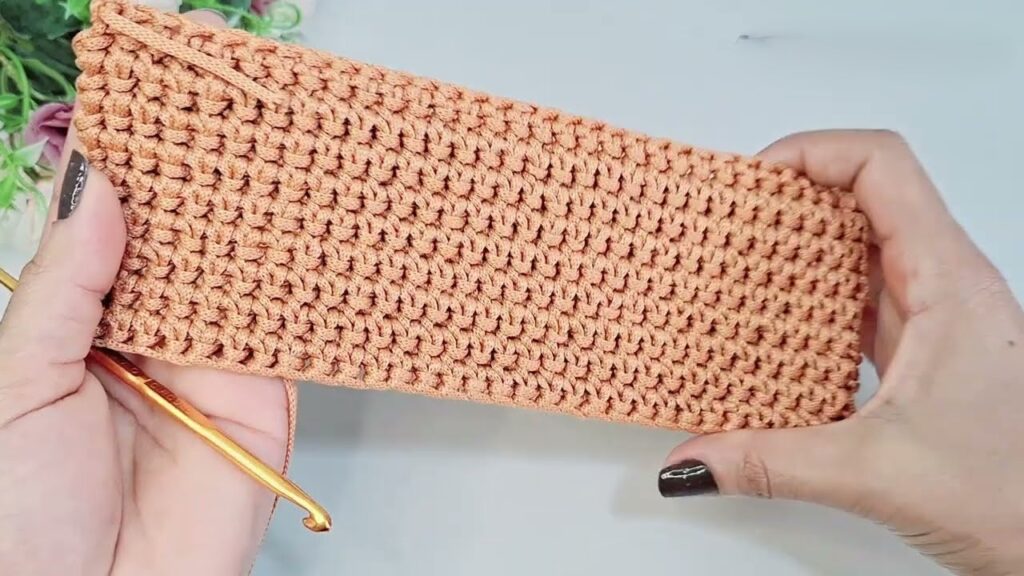
Step 5: Row 4 – Fill Row
Ch 1, sc in each st across.
Turn.
This row smooths out the texture and gives the diamonds structure.
Step 6: Row 5 – Continue Building the Diamond
Ch 1, sc in next 2 sts, FPtr around next post two rows below, sc in next 2 sts, FPtr around previous post (matching the angle), sc in next 2 sts. Repeat across.
Turn.
The diagonal lines now start to move toward each other.
Step 7: Row 6 – Fill Row
Ch 1, sc in each st across.
Turn.
Step 8: Row 7 – Peak of the Diamond
Ch 1, sc, FPtr around post two rows below, sc in 4, FPtr around previous post, sc. Repeat across.
Turn.
The diamond shape is now closing at the top.
Step 9: Row 8 – Fill Row
Ch 1, sc across.
Turn.
Step 10: Row 9 – Mirror Image (Starting New Diamond)
Repeat the same structure but in reverse, so that the next diamond starts between the previous ones.
Keep repeating Rows 3–8 to form as many diamonds as needed for your desired bag height.
Repeat the pattern rows until your panel is about 12” high or your preferred height.
Step 11: Make the Second Panel
Repeat all steps above to create the second identical panel.
Optional Gusset and Base
If you want a 3D bag with a flat base, crochet a rectangular strip:
- Chain 13
- Work 52 rows of sc (or the same number of rows as the width of your panels)
- Seam this strip between the two panels around the sides and bottom
This adds volume and makes your bag more spacious.
Assembly Instructions
Once both panels are ready:
- Place them with right sides facing out.
- Use whip stitch or slip stitch to seam the sides and bottom (or attach your gusset strip).
- Weave in all loose ends using a yarn needle.
You now have the body of your bag!
Adding Handles
You can either crochet your own handles or use pre-made ones.
Crocheted Handles
- Ch 70 (or desired length)
- Work 4 rows of sc back and forth for a wide strap
- Sew each end to the inside of the bag using a strong backstitch
Store-Bought Handles
- Sew or rivet them in place
- Reinforce with interfacing or lining on the inside of the bag
Optional Lining
A lining adds durability and prevents your bag from stretching.
- Cut fabric to match the size of your bag panels (plus ½” seam allowance).
- Sew the lining pieces together and insert into the bag.
- Hand-stitch the lining to the top edge of the bag using invisible thread or matching sewing thread.
You can also add:
- A zipper closure
- A magnetic snap
- Interior pockets
Customization Ideas
Here’s where you can get creative!
- Color Blocking: Use two or three yarn colors and alternate every few rows.
- Ombre Gradient: Start with dark at the base and move to lighter shades as you go up.
- Beading: Add beads along the post stitches for a little sparkle.
- Appliqué: Crochet flowers or initials and sew them onto the finished bag.
Care Tips
If you used washable yarn:
- Hand wash or use a gentle machine cycle
- Lay flat to dry
- Use a pillowcase if machine washing with other items
Always check the yarn label for care instructions.
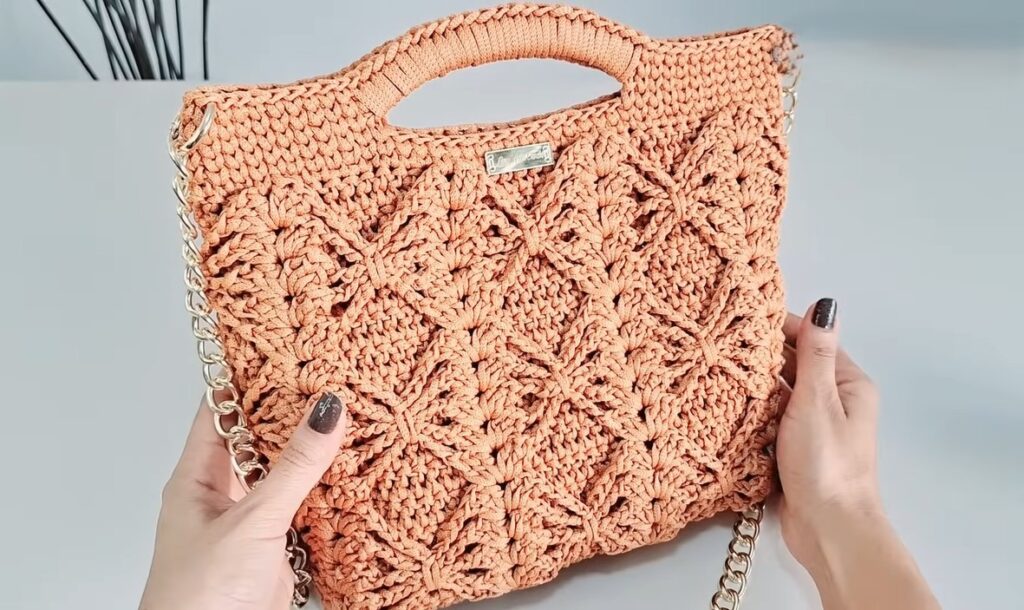
Final Thoughts
The diamond stitch bag is a project that delivers big impact with minimal fuss. It’s structured but soft, textured but simple, and elegant without being overly complicated. Whether you make it for yourself or as a heartfelt handmade gift, this bag will quickly become a favorite accessory in your handmade wardrobe.
Once you master this pattern, you’ll start imagining all the possibilities: color combinations, matching accessories, or even variations with larger diamonds or textured yarns. That’s the beauty of crochet—it evolves with your creativity.
So grab your hook, pick your favorite yarn, and start stitching your way to your very own Easy Crochet Diamond Stitch Bag. Happy crocheting!
You may be interested: