Crochet granny squares have stood the test of time, transcending generations, styles, and trends. While the classic version has its place in many hearts, multicolor granny squares have elevated this humble motif into a vibrant form of crochet art. With their patchwork appeal and creative freedom, they allow crocheters to tell colorful stories—one square at a time.
If you’re a crochet lover itching to dive into a fun and satisfying project, or if you’ve got a pile of leftover yarn scraps calling your name, this guide is your ultimate roadmap to making beautiful multicolor granny squares. Whether you’re brand new to the craft or a seasoned stitcher, we’ll cover everything from foundational techniques to expert-level color tricks.
Let’s begin this vibrant crochet journey.
What Are Multicolor Granny Squares?
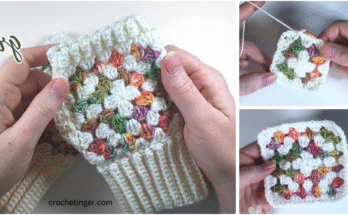
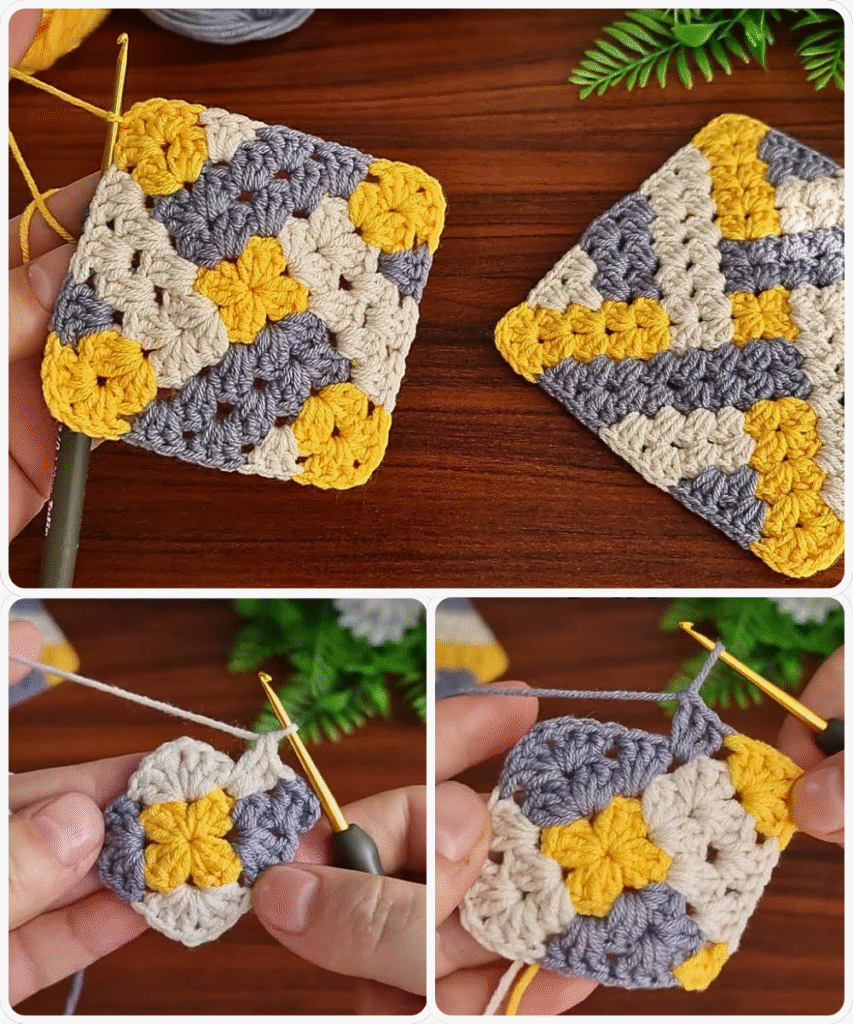
Multicolor granny squares are small crochet motifs usually worked in the round, starting from the center and expanding outward in multiple rounds. What sets them apart from traditional one-color squares is the use of two or more yarn colors, often changing with each round to create a bold or gradient effect.
These squares are often made with:
- Double crochet stitches (US terms)
- Chain spaces
- Slip stitches to join rounds
- Fast color changes and yarn switches
You can make a single multicolor square and turn it into a coaster, or stitch hundreds together into an afghan, cardigan, tote bag, or even a dress.
Materials You’ll Need
Before we dive into the actual steps, let’s get your materials sorted. The good news? Granny squares are budget-friendly, beginner-friendly, and a great stash-busting project.
Here’s what you’ll need:
Yarn
You can use virtually any weight or fiber of yarn, but worsted weight (medium/4) acrylic or cotton is the most common. It provides structure and is easy to work with.
For multicolor squares, select:
- 3 to 5 contrasting colors or shades within the same palette
- Solid, variegated, or even self-striping yarns
- Leftover yarn scraps from previous projects

Crochet Hook
Choose a hook size appropriate for your yarn. For worsted weight, a 5.0 mm (H-8) or 5.5 mm (I-9) hook is ideal.
Other Tools
- Yarn needle for weaving in ends
- Scissors
- Stitch markers (optional but helpful when switching yarn)
Understanding the Granny Square Structure
Before jumping into colors, let’s break down how a classic granny square is built.
Round-by-Round Anatomy
- Round 1 (Center Ring): Chain 4 and join into a ring with a slip stitch. Work clusters of 3 double crochet separated by chain spaces to form the foundational square.
- Round 2: Continue working clusters into each chain space with corners created by chain-2 spaces.
- Round 3+: Increase the number of clusters along each side. Each corner always gets a chain-2 space between two 3-double crochet clusters.
This repeatable format allows the square to grow evenly.
When we introduce color, we’ll change yarn at the beginning of a new round for clean transitions.
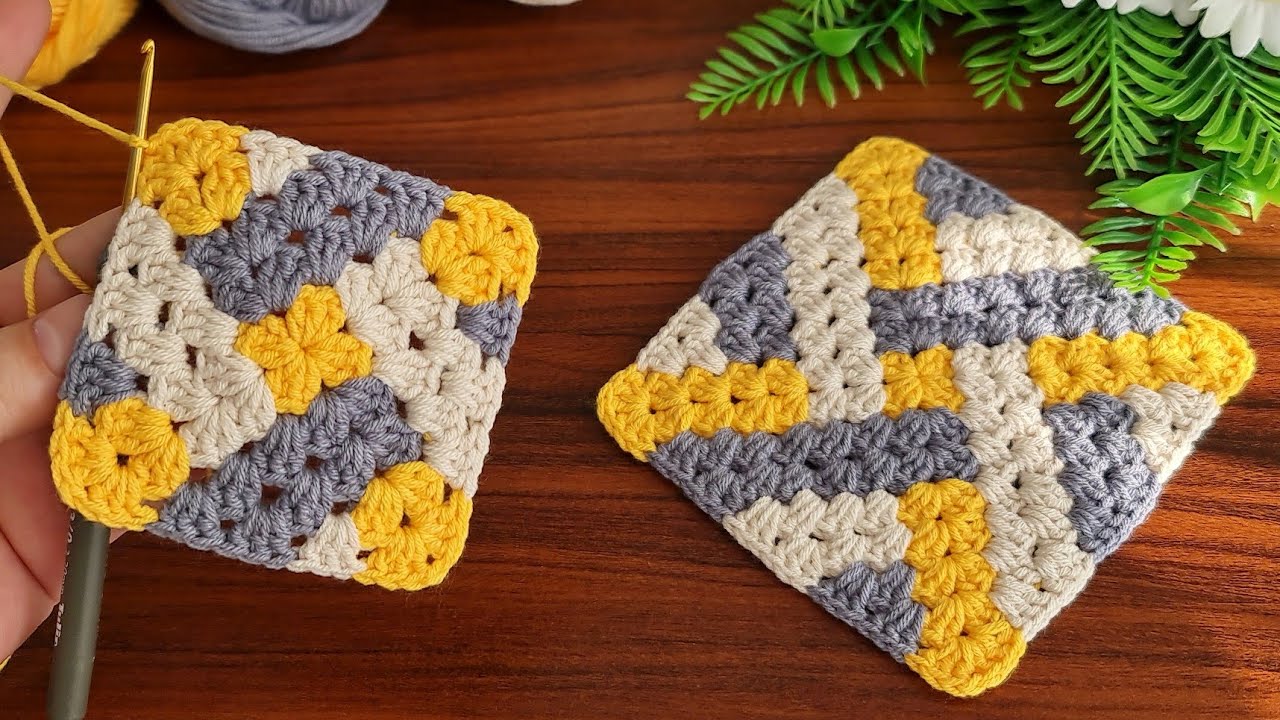
Step-by-Step Instructions: Classic Multicolor Granny Square
Let’s make a 4-round multicolor granny square using 4 different colors. (You can always extend it!)
Color A – Round 1 (Center)
- Start with a slip knot and ch 4, then join with sl st into the first chain to form a ring.
- Ch 3 (counts as 1 dc), work 2 dc into the ring. Ch 2, then work 3 dc into the ring. Repeat from * two more times.
- After the fourth cluster, ch 2, sl st into the top of the starting ch-3 to close the round.
- Fasten off and weave in ends.
You now have a small square made of 4 clusters and 4 corner chain spaces.

Color B – Round 2
- Join new yarn into any corner ch-2 space with a slip stitch.
- Ch 3 (counts as 1 dc), 2 dc into same corner, ch 2, 3 dc into same corner.
- Ch 1, then into the next corner: 3 dc, ch 2, 3 dc.
- Repeat from * around.
- Sl st into top of beginning ch-3 to join. Fasten off.
Now you can see the square taking shape!
Color C – Round 3
- Join new color in any corner space.
- Ch 3, 2 dc in corner, ch 2, 3 dc in same space.
- Ch 1, 3 dc in next ch-1 space, ch 1.
- In next corner, 3 dc, ch 2, 3 dc.
- Repeat from * around the square.
- Join with slip stitch to beginning ch-3. Fasten off.
Color D – Round 4
This round adds even more detail. You now have two side spaces between each corner.
- Join yarn in any corner.
- Ch 3, 2 dc, ch 2, 3 dc in corner.
- Ch 1, 3 dc in next space, ch 1, 3 dc in next space.
- In next corner: 3 dc, ch 2, 3 dc.
- Repeat from * around the square.
- Sl st to join and fasten off.
Congratulations! You’ve just made a stunning four-color granny square.
Tips for Clean Color Changes
Multicolor crochet can get messy if yarn changes aren’t handled well. Here are some expert tips:
- Always finish the last stitch of a round with the new color. This gives you a seamless transition.
- Weave in ends as you go. It prevents a huge pile-up at the end of your project.
- Use a standing double crochet instead of chaining 3 if you’re joining with a new color.
- Consider invisible joins for a cleaner finish at the end of each round.
Color Theory and Design Inspiration
Color is where the magic happens. Multicolor granny squares can be:
- Bold and contrasting
- Soft and gradient
- Random and spontaneous
- Themed (seasonal palettes, rainbow, ombre, retro)
Here are some ideas to try:
Popular Color Combos
- Sunset Shades: Coral, orange, gold, magenta
- Ocean Tones: Aqua, teal, navy, white
- Vintage Mix: Mustard, olive, burgundy, cream
- Candy Pastels: Mint, lavender, pink, baby blue
- Neon Pop: Electric pink, lime green, black
How to Plan Your Colors
- Use a color wheel to choose complementary or analogous shades.
- Stick to a limited palette for cohesion (3–5 colors).
- Alternate a neutral with bolds to prevent overwhelming designs.

Beyond the Basics: Fun Variations
Once you’ve mastered the classic square, take your creativity further with these variations:
Flower Granny Squares
Start with a flower motif in the center (like a daisy or puff-stitch bloom), then add square rounds in various colors.
Solid Granny Squares
Use multicolor but skip the chain-1 spaces to create tighter, more solid squares.
Spiral Granny Squares
Work continuous rounds using 3-4 different yarns at once to form a spiral effect.
Asymmetrical Color Placement
Use one color for corners, another for sides, and a wild center hue to create modern, geometric patterns.
Joining Your Squares
Making the squares is fun—but how you join them matters just as much. Here are some options:
Whip Stitch (Invisible Seam)
Use a yarn needle to sew squares together through the back loops only for a flat, invisible join.
Single Crochet Join
Lay squares side by side and use a single crochet stitch to join with a visible ridge—a decorative, raised seam.
Join-As-You-Go (JAYG)
Connect squares during the last round by slip stitching into adjacent square’s chain spaces. This is perfect for saving time and reducing sewing.
Continuous Join
Use one continuous length of yarn to attach all squares in a grid. Neat, tidy, and quick once you learn the pattern.
Project Ideas with Multicolor Granny Squares
Now that you’ve got a stack of gorgeous squares, what do you do with them?
Here are some exciting project ideas:
- Blankets & Throws – Classic and cozy, perfect for showing off a whole rainbow.
- Cushion Covers – A small but impactful home decor piece.
- Bags & Purses – Line them with fabric for a stylish accessory.
- Scarves & Cowls – Join narrow rows of squares for a statement piece.
- Sweaters & Cardigans – The ultimate fashion-forward project.
- Wall Hangings – Arrange and frame squares for textile art.
Common Mistakes to Avoid
Even experienced crocheters can run into hiccups. Here are a few common pitfalls and how to fix them:
- Warped Squares: Caused by tight tension or skipped chain spaces. Keep stitches loose and consistent.
- Color Bleed: Always test yarn for colorfastness if washing is involved.
- Yarn Tangles: Manage multiple yarn balls by using yarn holders or small zip-top bags.
- Crooked Edges: Count stitches and corners to keep the square symmetrical.
Final Thoughts
Multicolor granny squares are the perfect blend of simplicity and creativity. They’re easy to learn, quick to make, and infinitely customizable. Each square is a blank canvas—and when stitched together, they form a tapestry of memories, colors, and joy.
Whether you’re making a small coaster or a sprawling king-size blanket, every multicolor granny square you hook brings you one step closer to a masterpiece. So go ahead—mix those colors, get inspired, and let your creativity shine one square at a time.
Happy crocheting!
You may be interested: