
When winter sets in and the world turns into a wonderland of snowflakes, pine trees, and glittering lights, something magical happens: our creative hearts long to make something by hand. Whether you’re decorating your home for the holidays or looking for a heartfelt gift idea, few things feel more personal than a handmade crochet doily with Christmas charm.
A Crochet Christmas Doily adds warmth, nostalgia, and a splash of festive elegance to any room. With just a hook, some yarn, and a little time, you can create a stunning holiday centerpiece that becomes a treasured part of your seasonal decor for years to come.
In this blog, we’ll take you on a joyful journey of creating a beautiful and easy Christmas doily—designed with beginners and intermediates in mind. You’ll learn how to read the pattern, choose the right yarn and colors, execute festive details like picots and shells, and explore creative ways to customize your doily for different holiday styles.
Let’s cozy up and crochet a Christmas classic!

What is a Christmas Doily?
A crochet doily is a decorative mat, usually circular or oval, traditionally made using thin cotton thread and intricate lace-like patterns. The Christmas variation embraces the same elegance but with seasonal colors and motifs—like stars, holly leaves, snowflakes, poinsettias, and Christmas trees.
Doilies can be used to:
- Decorate the center of a table or coffee table
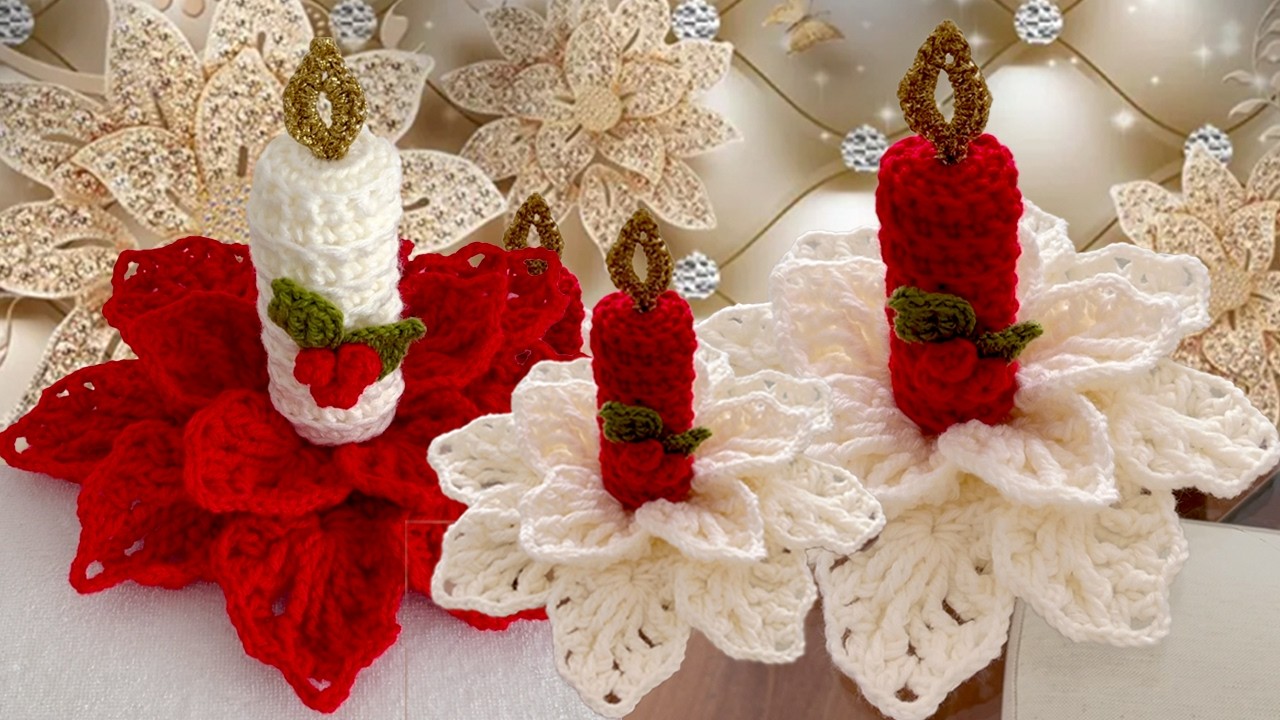
- Accent holiday platters or candle holders
- Add vintage charm to bookshelves, sideboards, or windowsills
- Serve as bases for ornaments, snow globes, or advent calendars
- Be given as handmade gifts
The design you’ll learn in this guide is intentionally easy but looks wonderfully festive and intricate when complete.
Supplies You’ll Need
You don’t need a lot of materials to make a Christmas doily—just the right ones. Here’s a simple list of what you’ll want on hand before you start.
Yarn
For a classic doily look, use size 10 crochet thread (mercized cotton) for a fine, lacy finish. However, to keep it beginner-friendly and easier to handle, we’ll use lightweight yarn (DK weight or sport weight) instead.
Recommended yarn choices:
- Red, white, and green (classic Christmas)
- Metallic yarns for sparkle (gold, silver, metallic red/green)
- Variegated Christmas colorways
- Optional: a touch of glitter yarn for accents
Stick to 100% cotton or cotton-blend yarn for durability and shape retention.

Hook
Use a 3.5 mm (E-4) crochet hook or a size appropriate for your yarn. You want your stitches to be tight enough to hold shape but not too tight to work comfortably.
Tools
- Scissors
- Yarn needle (for weaving in ends)
- Stitch markers (helpful in later rounds)
- Blocking board and pins (for shaping your finished doily)
Christmas Doily Size and Shape
The doily pattern we’ll work on will be round and measure about 10–12 inches (25–30 cm) in diameter once blocked, but the size can vary based on your yarn and hook. You can make it larger by simply adding more repeat rounds at the end of the pattern.
This doily includes:
- Classic shells and chains for lacy openness
- Festive color changes
- Picot stitches for snowflake-like detail
- Optional metallic edging for sparkle
Basic Stitches Used
This project uses several basic crochet stitches. Here’s a refresher in US terms:
- Ch (Chain) – Yarn over and pull through loop.
- Sl st (Slip Stitch) – Insert hook, yarn over, pull through all loops.
- Sc (Single Crochet) – Insert hook, yarn over, pull through, yarn over, pull through both loops.
- Dc (Double Crochet) – Yarn over, insert hook, yarn over, pull through, yarn over, pull through 2 loops, yarn over, pull through final 2.
- Picot – Chain 3, slip stitch into first chain (used for small decorative “points”)
- Shell – 5 double crochets worked in the same stitch or space
These stitches are easy to learn, and once you get into the rhythm, they create a gorgeous, snowflake-inspired pattern.

Step-by-Step Pattern: Easy Crochet Christmas Doily
This pattern is written for 3 colors: Color A (Red), Color B (White), and Color C (Green). Feel free to switch them or add sparkle yarn for a magical twist.
Note: Begin each round with a chain as directed and join with a slip stitch into the top of that chain unless otherwise noted.
Round 1: Foundation
With Color A, make a magic ring.
Ch 3 (counts as first dc), work 15 dc into the ring. Join to top of ch-3. (16 dc)
Fasten off Color A.
Round 2: Snowy Shell Start
Join Color B in any dc.
Ch 3, dc in same st, ch 1, 2 dc in next st, ch 1; repeat from * around. Join. (16 2-dc groups)
Round 3: Decorative Chains
Ch 1, sc in same st, ch 3, skip next 2 dc, sc in ch-1 space, ch 3, sc in between next 2-dc group, ch 3 around. Join with sl st to first sc. (16 ch-3 spaces)
Round 4: Shell Motif
Sl st into first ch-3 space.
Ch 3 (counts as dc), 4 dc in same space (1 shell made), ch 1, 5 dc in next ch-3 space (shell), ch 1 around. Join. (16 shells)
Fasten off Color B.
Round 5: Frame with Green
Join Color C in ch-1 space between any two shells.
Ch 1, sc in same space, ch 4, sc between next two shells, ch 4, sc in between next two shells around. Join. (16 ch-4 spaces)
Round 6: Snowflake Picots
Sl st into first ch-4 space, ch 1, sc, ch 3, sl st into first ch, (picot made), sc in same space. Sc, picot, sc in next ch-4 space around. Join.
You now have a beautiful flurry of snowflake points surrounding your doily.
Optional Round 7: Metallic Edging
With metallic yarn or any festive sparkle yarn, join in any sc.
Sc in each st across, placing a picot in every third stitch, or do a reverse single crochet (crab stitch) around the edge for a twisted cord-like border.
Fasten off and weave in all ends.
Blocking Your Christmas Doily
To give your doily its final polished shape, blocking is essential.
- Soak the doily in lukewarm water with a little gentle soap.
- Gently squeeze (don’t wring) and roll in a towel.
- Lay flat on a blocking mat or towel.
- Pin out each picot and shell point to sharpen the shape.
- Let dry completely—usually overnight.
Blocking transforms your work from soft and crumpled to crisp and defined.

Design Variations and Creative Ideas
Once you’ve mastered the base pattern, here are ways to personalize or evolve your Christmas doily.
Color Play
- Make it monochrome white for a snowflake effect.
- Use metallic red and green for glitz and glam.
- Add a gold border around a red-and-white center.
- Create a reverse version: green center, white middle, red outer ring.
Embellishments
- Sew on mini beads or sequins to mimic snow or lights.
- Add a tiny bow in the center or hanging off the edge.
- Crochet mini holly berries and leaves and sew them on top.
Change the Shape
- Stop after Round 4 and turn it into a coaster.
- Add more shell-and-chain rounds to make it larger.
- Join multiple mini doilies to create a table runner.
Make it a Gift
Wrap it in tissue with a hand-written card. Stack three graduated doilies in different sizes for a lovely handmade gift set. Or place in a shadow box with other holiday accents for a 3D art display.
Common Mistakes and How to Avoid Them
Every crocheter hits a bump or two. Here are some doily-specific hiccups and solutions:
- Ruffled edges: Caused by too many stitches. Try fewer chains or smaller hook.
- Curling edges: Not enough stitches. Add extra chains or loosen tension.
- Missed picots: They can blend in—use stitch markers to count them.
- Color bleeding: Wash color-rich yarns separately or use cold water only.
Take your time, and don’t worry about small imperfections—your hands made it, and that makes it beautiful.
Final Thoughts
Crochet doilies have never gone out of style—and during Christmas, they shine brighter than ever. By following this guide, you’ve not only made a festive, elegant decoration, but you’ve also created something filled with warmth, tradition, and creativity.
So pour a cup of hot cocoa, put on your favorite holiday music, and get lost in the joy of yarn and color. Whether you’re crafting one doily or a dozen, each stitch is a stitch of joy, comfort, and holiday cheer.
Happy hooking, and merry crocheting!
You may be interested:
- Crochet baby blanket cardigan design – Free Pattern
- Crochet Easy Tote Bag
- How to Crochet a Charming Daisy Motif: A Step-by-Step Pattern
- How to Crochet a Simple & Easy Crochet Flower | Free pattern for Absolute Beginners


