
There’s something effortlessly chic about a beautifully made hair accessory — especially when it’s a handcrafted piece made entirely by you. Whether you’re a crochet beginner looking for your first wearable project or an experienced yarn artist eager for a quick yet stylish pattern, a crochet hair band is the perfect match. It’s functional, fashionable, and the ideal project for using up leftover yarn in your stash.
In this comprehensive guide, we’ll walk you through every step of creating your own easy crochet hair band. From selecting yarn and tools to perfecting your stitches and finishing with flair, you’ll gain all the knowledge you need to create a variety of beautiful bands. Best of all, it’s a quick make, which means you can whip one up in an afternoon and wear it the same evening.
Let’s dive in and explore how to elevate your style — one loop at a time.
Why Make a Crochet Hair Band?
There are many reasons to crochet your own hair bands, from sustainability to style. Here are just a few:
1. Stylish Versatility
Crochet hair bands come in many forms — skinny boho bands, wide retro wraps, twisted headbands, or simple ties. They’re perfect for both casual and formal looks.
2. Custom Fit and Comfort
No more too-tight elastics that leave headaches or slip out. A handmade hair band can be tailored to your head size for a snug, comfortable fit.
3. Perfect Scrap Yarn Project
Hair bands don’t require much yarn. You can use leftover scraps to create multi-colored or gradient bands.
4. Quick and Satisfying
This is one of those projects that provide instant gratification. It’s ideal for beginners who want a practical win.
5. Handmade Gifting Gold
Looking for a thoughtful, personal gift? A handmade hair band checks all the boxes. It’s small, beautiful, and full of charm.
Now that you’re (rightfully) convinced, let’s get into the nitty-gritty details of how to make one yourself.
Materials You’ll Need
Gathering the right tools will ensure your crochet journey is smooth and enjoyable. For this hair band project, you’ll need the following:
Yarn
Hair bands are best made with soft, lightweight, breathable yarn. The goal is comfort — especially around the hairline. Here are some good choices:
- Cotton yarn: Breathable and soft. Ideal for warm weather.
- Cotton-acrylic blends: Soft, with a little stretch.
- Bamboo yarn: Silky and lightweight, excellent for a more elegant band.
- Acrylic yarn: Budget-friendly and colorful.
Yarn Weight:
- DK (Light Weight) or Sport Weight is ideal for most styles.
- For chunkier or wider bands, you can use Worsted Weight yarn.
Yardage:
You’ll only need about 30–60 yards depending on the band width and stitch type.
Hook
Check your yarn label for hook size recommendations, but here are some general guidelines:
- DK Yarn: Use a 4.0mm to 4.5mm hook
- Worsted Yarn: Use a 5.0mm to 6.0mm hook
If you want a tighter, denser band, use a smaller hook. For something stretchier or more lacy, size up.
Notions
- Yarn needle (for weaving in ends)
- Stitch markers (optional, for pattern repeats)
- Scissors
- Measuring tape or ruler
- Elastic band or button (optional for adjustable styles)
Got your tools ready? Great! Now let’s discuss the construction styles you can explore.
Popular Crochet Hair Band Styles
There are dozens of ways to make a crochet hair band, but here are some of the most popular styles you can try — all beginner-friendly and easily customizable.
1. Flat Rectangular Band
This is the simplest style — a strip of crochet made in rows and seamed at the ends to form a band. You can use any stitch: single crochet, half-double crochet, or even more textured ones.
Pros:
- Easy and quick
- Great for beginners
- Looks neat and modern
Variations:
Add a twist before joining the ends for a turban-style headband.
2. Shell or Lace Band
Lacy stitches, like shell, V-stitch, or fan stitch, make elegant and airy bands that are great for hot weather or formal wear.
Pros:
- Pretty and feminine
- Very breathable
Variations:
Add beads, buttons, or picot edging for flair.
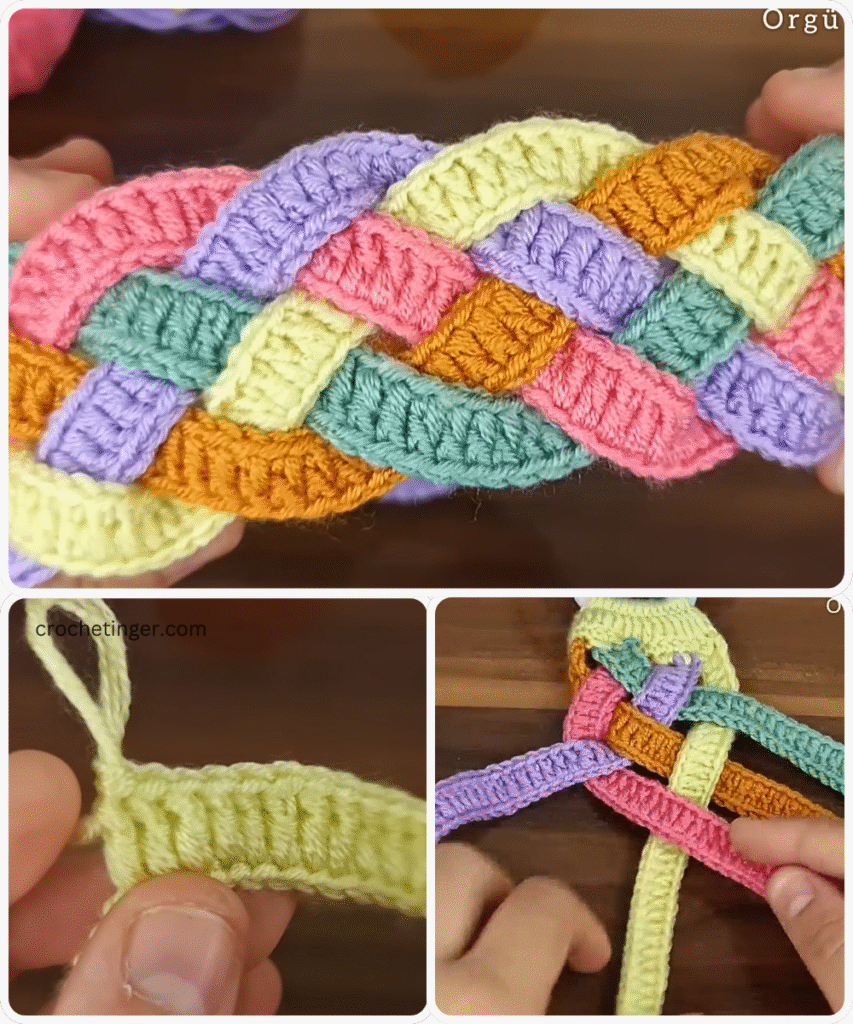
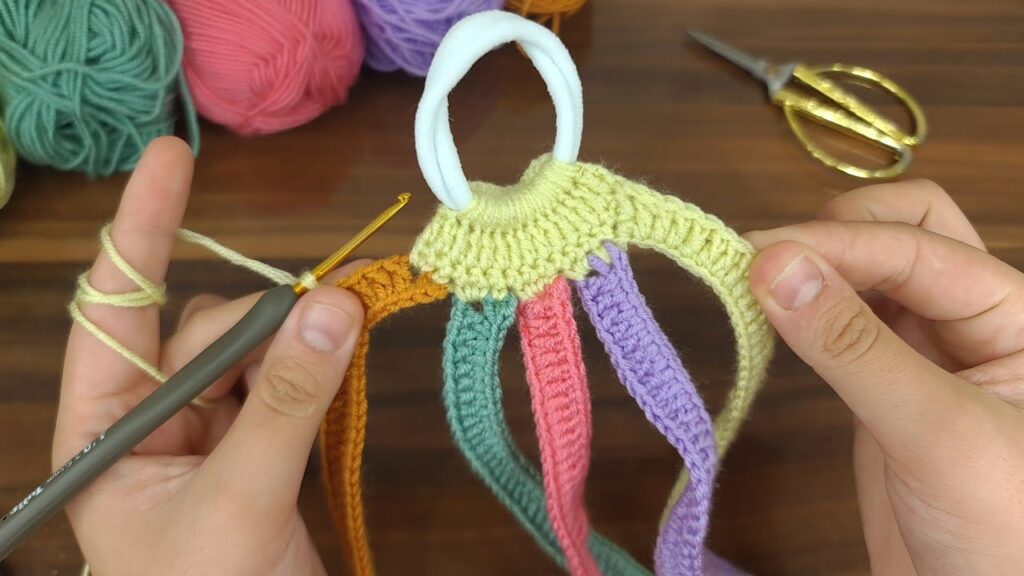
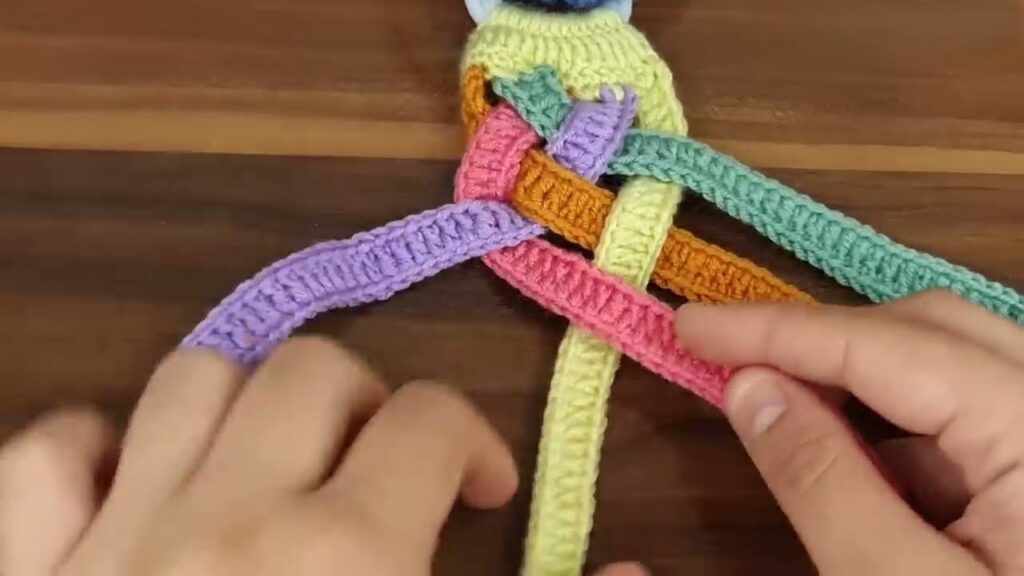
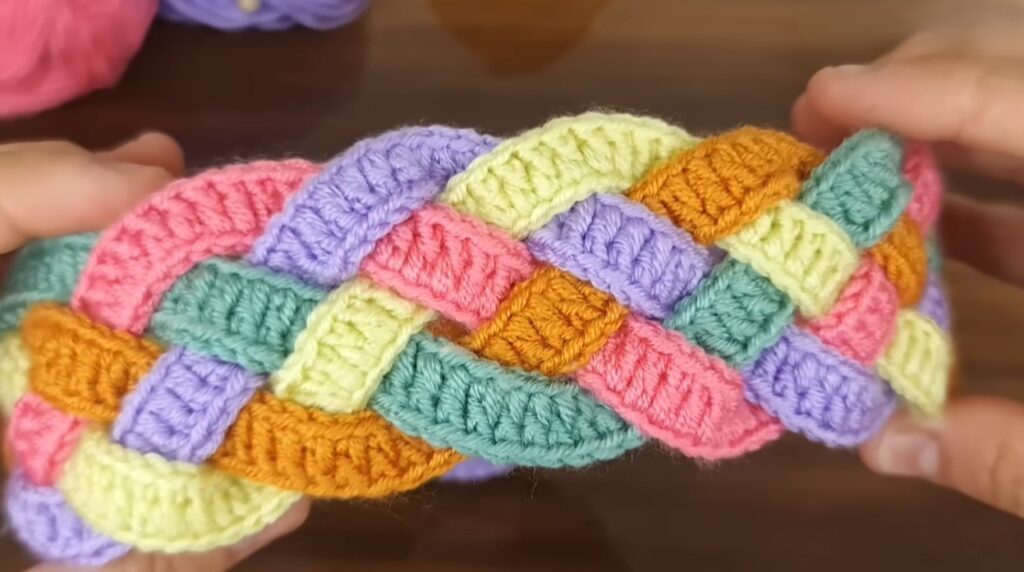
3. Braided Band
Crochet three narrow strips and braid them together. This gives a beautiful woven look and is fantastic for multi-colored designs.
Pros:
- Great texture and stretch
- Unique style
Variations:
Use ombre yarns or complementary shades for a boho vibe.
4. Elastic Insert Band
Crochet a rectangle and attach it to an elastic hair tie or band. This ensures a snug fit and makes the band more practical for workouts.
Pros:
- Functional and stretchy
- Doesn’t fall off easily
Variations:
Decorate with flowers, bows, or motifs on top.
5. Tie-Up Band
Instead of joining the ends, leave long tails to tie the band at the back or on top of your head. This allows for maximum adjustability.
Pros:
- Adjustable for any head size
- Chic and retro
Now that you know the styles, let’s dive into a detailed pattern tutorial for a simple yet stylish rectangular hair band using the Half Double Crochet (HDC) stitch.
Step-by-Step: Easy HDC Crochet Hair Band Pattern
Let’s start with the most straightforward option — a cozy, comfortable, and highly customizable half-double crochet band.
Pattern Overview
- Skill Level: Beginner
- Yarn: DK weight cotton blend
- Hook: 4.0 mm
- Size: Fits head circumference of 20–22 inches (adjustable)
- Stitches Used: Chain (ch), Half Double Crochet (hdc)
Abbreviations
- ch = chain
- hdc = half double crochet
- st = stitch
- sl st = slip stitch
Instructions
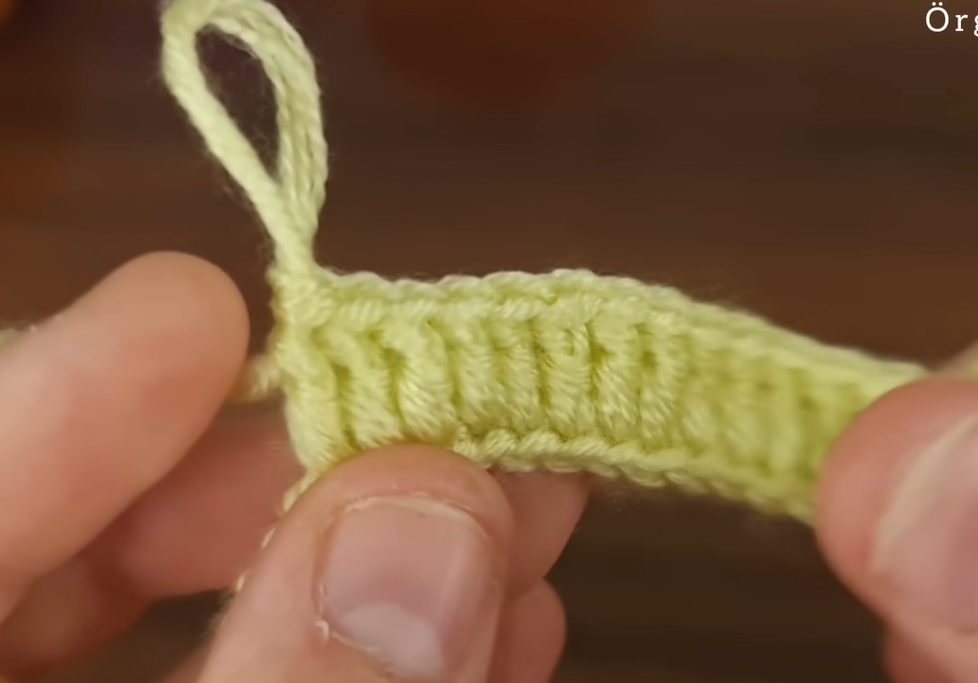
1. Foundation Row
Ch 11 (for a 2” wide band, increase for wider bands).
Row 1: Hdc in 2nd ch from hook and in each ch across. (10 sts)
Ch 1, turn.
2. Body
Row 2–80 (or desired length): Hdc in each st across.
Ch 1, turn.
3. Finishing
Fasten off and seam the two ends using whip stitch or slip stitch.
Weave in all ends using a yarn needle.
Optional Twist:
Before seaming, twist one side once for a turban effect. Then seam.
And that’s it — you’ve just completed a classic crochet hair band. Now, let’s talk about customization and ways to make it uniquely yours.
Customization Ideas
The great thing about this project is that it can evolve into so many different styles. Here’s how you can personalize your crochet hair band:
Add Texture
Use different stitches like:
- Moss stitch
- Basketweave
- Crossed double crochet
- Puff stitches
These not only add beauty but also improve elasticity and comfort.
Play With Color
Color-block your band using two or three shades. Or use self-striping yarns for an effortless gradient effect.
Embellish
Add cute extras:
- Crochet flowers or leaves
- Wooden or decorative buttons
- Tiny bows
- Appliqués or motifs
- Beaded edges
Make a Matching Set
Why stop at one? Create matching sets with:
- A small coin purse
- A boho bracelet
- A water bottle holder
- A phone pouch
Perfect for gifts or even selling as bundles on Etsy!
Sizing and Fit
The average adult head circumference is 21 to 23 inches. Here’s a quick reference guide:
- Kids (3–10 years): 18–20 inches
- Teens: 20–22 inches
- Adult Women: 21–23 inches
- Adult Men: 22–24 inches
Tip: Crochet your band about 1 inch shorter than the head size to allow for stretch. This keeps it snug without being tight.
Washing and Care Tips
Crochet hair bands are relatively low maintenance, but here’s how to keep them looking new:
- Hand wash in cold water with mild soap
- Do not wring — gently press out water
- Lay flat to dry on a towel
- Avoid hanging to prevent stretching
If using cotton or bamboo yarns, expect a little stretching over time — just give them a gentle reshape after each wash.
How to Style Your Crochet Hair Band
Crochet hair bands are surprisingly versatile. Here are some fashion-forward ways to style them:
Boho Beauty:
Pair a lace headband with loose curls, maxi dresses, and fringe bags.
Sporty Chic:
Use a thicker band to keep hair back during yoga or hikes.
Casual Cool:
Wear a neutral-colored band with jeans, T-shirt, and sandals.
Vintage Flair:
Wrap a tie-up band around a high bun or retro curls.
Evening Elegance:
Add beads or a flower to your band and wear with an off-shoulder dress.
Don’t be afraid to make bold color choices — hair bands are a safe space for creative flair.
Video Tutorial:
Frequently Asked Questions
Can I sell crochet hair bands I make from this pattern?
Yes! Handmade hair bands are popular at craft fairs, online shops, and local boutiques. Just avoid reselling the exact written pattern.
How long does it take to crochet a hair band?
An hour or two for beginners. Faster with practice!
What if I don’t have DK yarn?
You can substitute with sport or worsted weight yarn. Just adjust the hook size and number of stitches accordingly.
Can I make this with Tunisian or broomstick crochet?
Definitely! These techniques add stunning textures and a unique twist to your band.
Final Thoughts: A Small Project with Big Style Impact
Crochet hair bands are a wonderful way to dip your toes into wearable crochet. They’re stylish, practical, and endlessly customizable. You can make one in every color of the rainbow or design an elegant gift set — the possibilities are as wide as your imagination.
Whether you’re dressing up for brunch, heading to a music festival, or just want to keep your bangs in place while gardening, a handmade hair band offers comfort, confidence, and a splash of personality.
So why not make your own today? Grab your hook, pick your favorite yarn, and start stitching your way to stylish self-expression — one stitch at a time.
You may be interested:
- Crochet Square Blouse: A Stylish And Easy To Make
- Crochet Coaster Motif: A Step-by-Step Guide to Creating Beautiful Coasters
- How to Crochet a Charming Daisy Motif: A Step-by-Step Pattern
- Crochet Lace Waves Motif


