
In a world that’s increasingly moving towards sustainability, handmade accessories like crochet shopper bags have become more than just charming projects—they’re lifestyle statements. Whether you’re carrying groceries, heading to the beach, or just want an eco-friendly tote for everyday use, a crochet shopper bag is the perfect blend of fashion, function, and conscious living. Even better? You can make it yourself, with nothing more than a hook, some yarn, and a bit of time.
In this blog post, we’ll explore not just how to crochet an easy shopper bag, but why it’s a great beginner-to-intermediate project, what materials work best, and all the creative ways you can customize your bag. You’ll also find in-depth pattern instructions, ideas for variations, and practical tips for styling and gifting.
Ready to get started on your next favorite crochet project? Let’s dive in.
Why Crochet a Shopper Bag?
Crochet shopper bags are incredibly versatile. They’re soft but sturdy, lightweight but durable, and stylish without trying too hard. Here are just a few reasons why making your own is a smart (and fun) choice.
Eco-Friendly Alternative to Plastic Bags: With single-use plastics being phased out globally, handmade totes are a great replacement. They’re reusable, washable, and completely biodegradable if made with natural fibers.
Customizable: Unlike store-bought bags, you get to choose the size, shape, color, and design that suits your personality and lifestyle.
Perfect Gift: A handmade bag is thoughtful and useful—perfect for birthdays, holidays, or as part of a self-care bundle.
Great Skill Builder: This project helps reinforce basic stitches, increases your understanding of shaping and seaming, and offers room to explore decorative techniques like mesh stitches and surface crochet.
Now that we’ve covered the “why,” let’s get into the “how.”
Materials You’ll Need
The beauty of this bag is that it doesn’t require fancy materials or tools. Here’s what you’ll need:
Yarn
For best results, use worsted weight cotton yarn (Category 4). Cotton offers durability and washability, and it doesn’t stretch out as much as acrylic over time. If you’re aiming for a lightweight beach tote, a cotton-blend or bamboo yarn could also work.
Suggested Yardage:
- Small bag: ~250–300 yards
- Medium bag: ~400–500 yards
- Large market tote: ~600–700 yards
Hook
Use a hook size appropriate for your yarn, but feel free to size up if you want a looser, mesh-like structure. For worsted cotton:
- Recommended hook: 5.0 mm (H/8) or 5.5 mm (I/9)
Additional Supplies
- Scissors
- Tapestry needle for weaving in ends
- Stitch markers (helpful for round counts)
- Optional: measuring tape, buttons, or lining fabric
Let’s break down the construction before we start hooking.
Project Structure Overview
This easy shopper bag is worked in a bottom-up construction, with seamless rounds forming the base and body. We’ll use basic stitches like chain (ch), single crochet (sc), half double crochet (hdc), and some mesh patterning for breathability and texture.
The handles are crocheted directly onto the bag in the final rounds, so no sewing is required unless you add a lining.
Here’s a summary of the construction steps:
- Create a flat oval base
- Work the body in rounds using a mesh stitch
- Shape the top and form the handles
- Finish with border stitches and weave in ends
- Optional: Add a fabric lining or closure
Let’s now start from the beginning—literally.
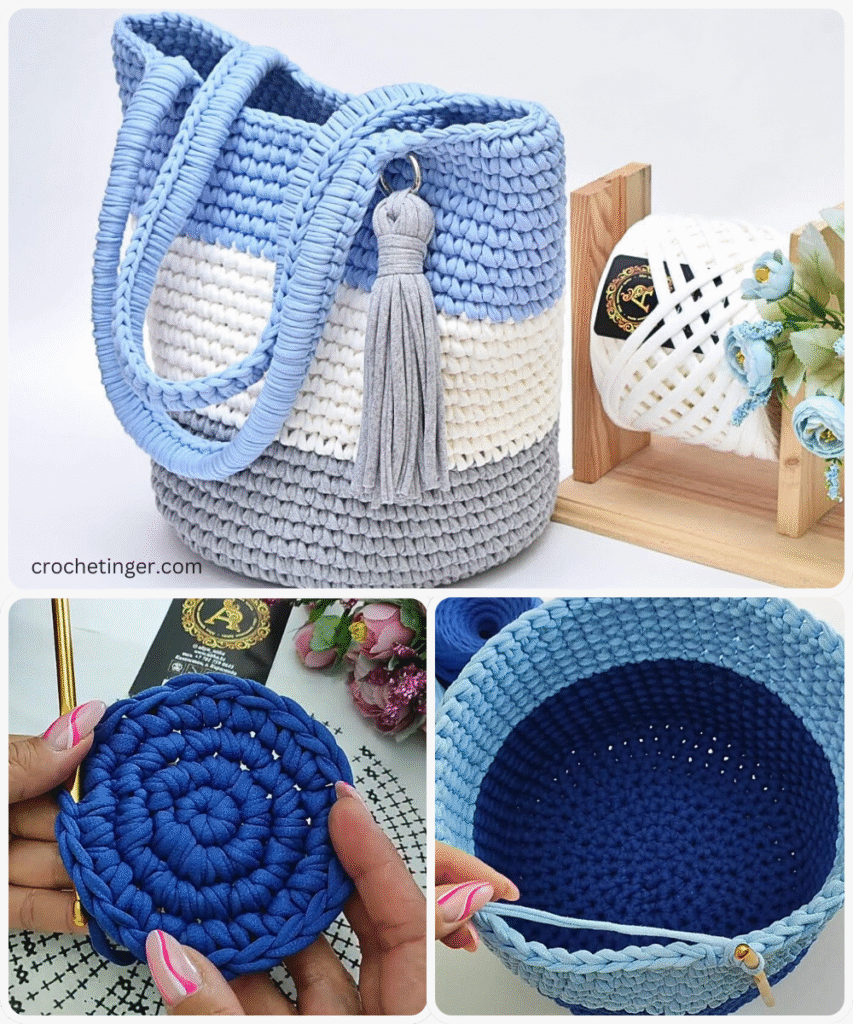
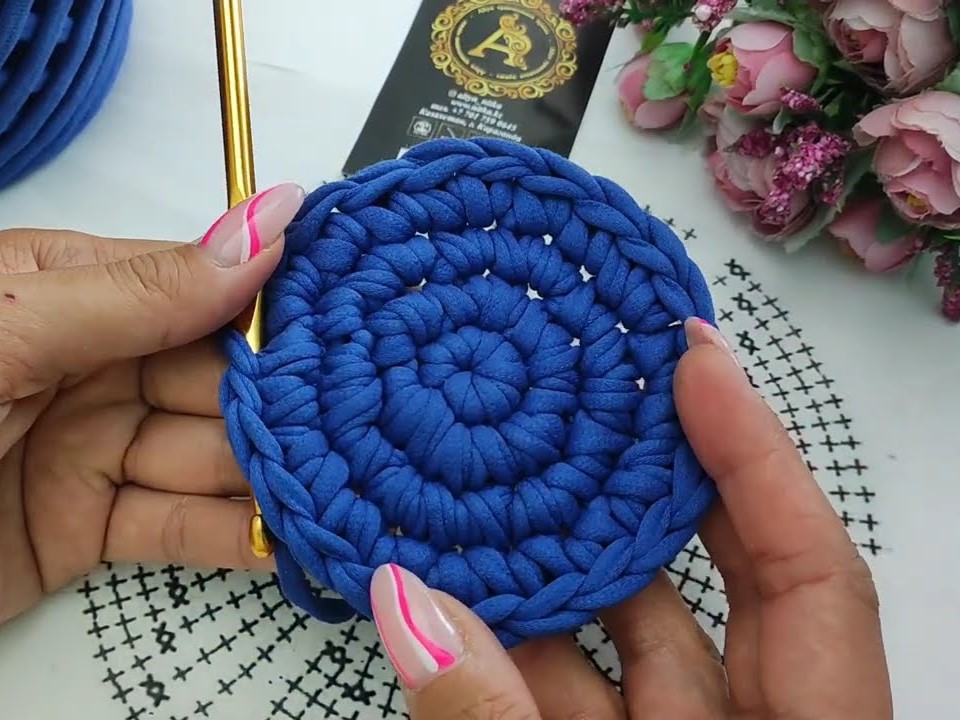
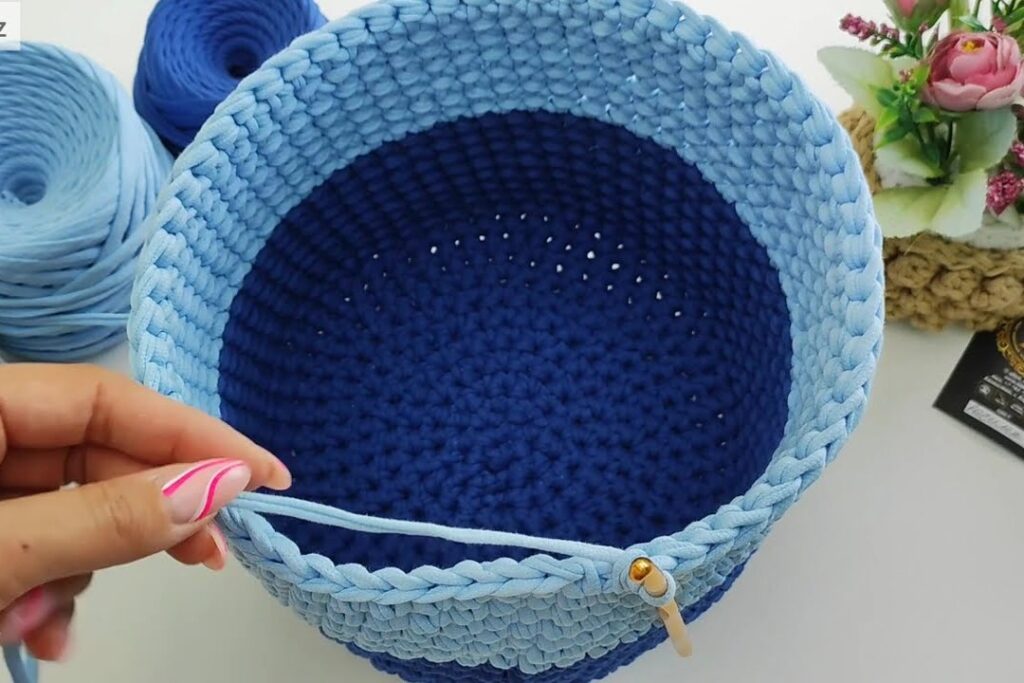
Step 1: Creating the Base
We’ll start with a simple oval base, which gives the bag its structure. Think of it as a soft rectangle with rounded edges.
Instructions for Base:
- Ch 31 (or adjust for desired base width)
- Round 1: In 2nd ch from hook, sc across to last chain (30 sc), work 3 sc in last ch to turn. Working on the opposite side of the chain, sc back down the other side, ending with 2 sc in the first ch (total 66 sc). Place a stitch marker in the first st of the round.
- Round 2: Work 1 sc in each st around, placing 2 sc in each of the 3 turning sts at both ends (6 inc). (Total 72 sc)
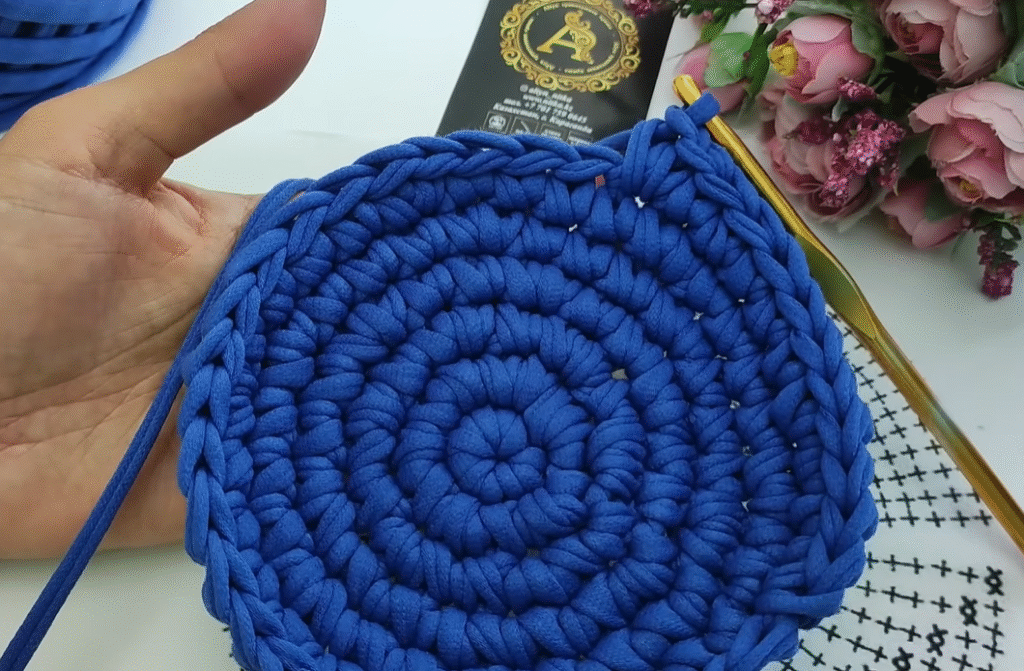
- Round 3–5: Continue in sc, increasing by 6 sts per round in the rounded ends to maintain the oval shape.
You can continue increasing for a few more rounds if you want a wider base. Make sure the final stitch count is a multiple of 4 to help with the mesh pattern later.
Once the base is as long and wide as you want, stop increasing and begin working the body.
Step 2: Building the Bag Body with a Mesh Stitch
For a classic airy texture, we’ll switch to a chain mesh stitch: simple, elegant, and quick to work up.
Mesh Stitch Pattern (multiple of 2):
- Round A: Ch 4 (counts as 1 dc + ch-1), skip 1 st, dc in next st. Ch 1, skip 1 st, dc in next st—repeat around. Join with sl st to 3rd ch of starting ch-4.
- Round B: Sl st into the first ch-1 sp. Ch 4, dc in next ch-1 sp. Repeat dc in each ch-1 space, with ch-1 in between. Join.
Repeat the mesh rounds for 20–30 rows, depending on desired height.
Tip: Periodically lay your bag flat and check proportions. This is especially helpful if you’re customizing the size.
Step 3: Top Rounds and Handle Formation
Once your bag is tall enough, we’ll work a few solid rounds to strengthen the top and then shape the handles directly into the design.
Solid Rounds:
- Work 2–3 rounds of hdc in each stitch around. This stabilizes the top edge.
Handles:
- Count total stitches and divide in half.
- Mark where you want each handle to start and end (typically 10–15 sts wide, depending on size).
- On the next round: Hdc across to the handle start, ch desired length (30–50 ch), skip sts between handle markers, hdc to next handle start, repeat for second handle.
Next Round:
- Work hdc into each stitch, and hdc into each chain from the handle. This firms up the handles and gives the bag strength.
Work 2 more rounds of hdc to reinforce the handle base and edge.
Step 4: Finishing Touches
Fasten off your yarn and weave in all ends with a tapestry needle. Give the bag a light steam block if needed to even out the shape.
Optional Lining: To add lining:
- Cut fabric to match the size of the bag, leaving a half-inch seam allowance.
- Sew the sides and bottom, then fold over the top edge and press.
- Hand-sew or machine-sew the lining to the inside of your bag.
This will help maintain shape and allow you to carry smaller items without them poking through the mesh.
Style and Personalization Ideas
The possibilities for personalization are endless. Here are some fun ideas:
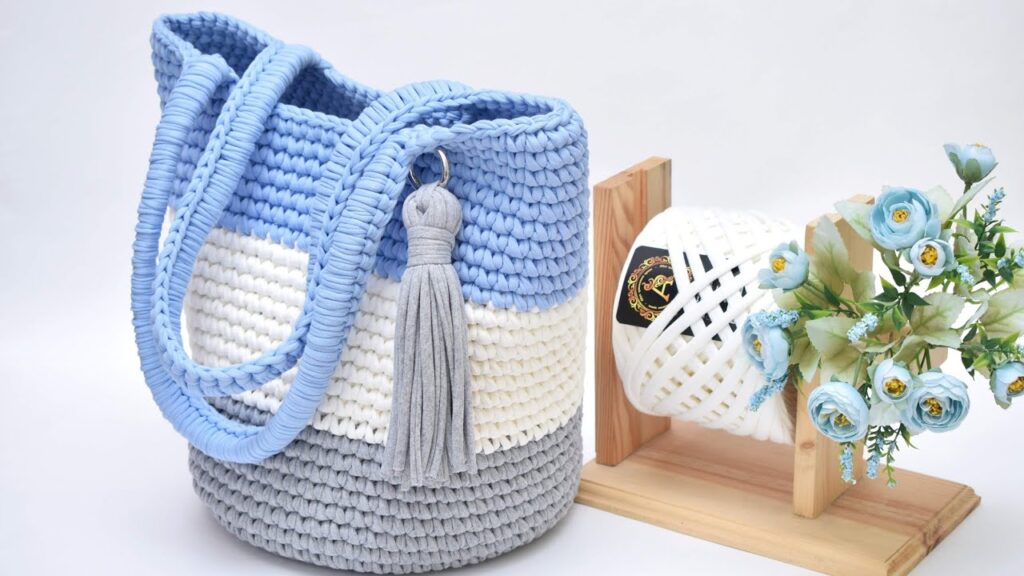
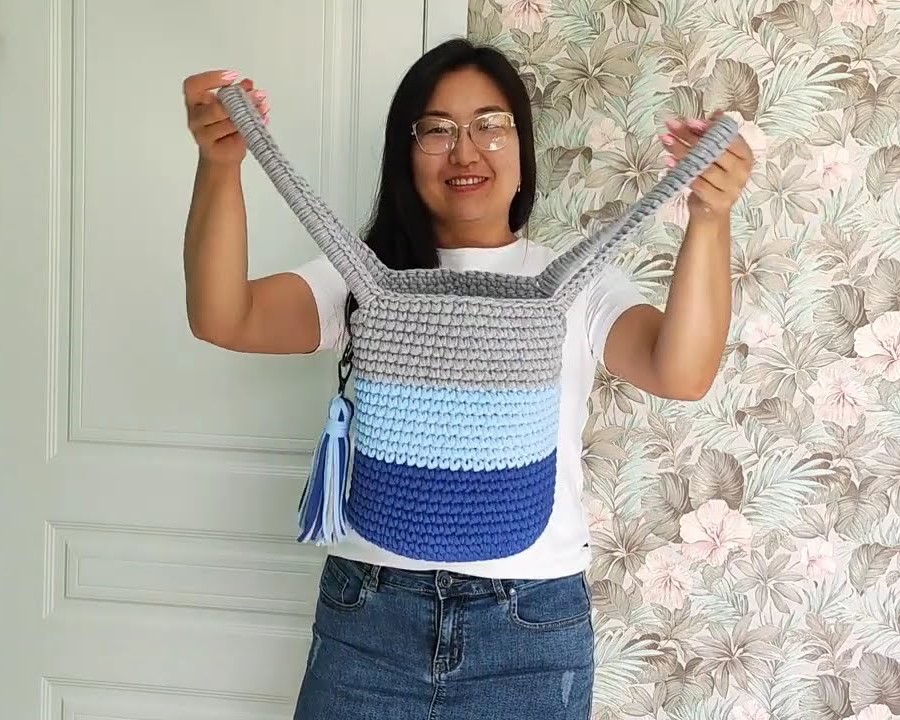
Color Blocking: Work the base and mesh sections in different colors. Try a pop of neon against a neutral base for modern flair.
Striping: Alternate two or more colors every few rows.
Decorative Stitch Rows: Add a row of puff stitches, bobbles, or shell stitches between mesh sections for texture.
Appliqués: Crochet flowers, leaves, or geometric shapes and sew them onto the bag.
Surface Embroidery: Embroider names, symbols, or patterns directly onto the mesh using yarn and a tapestry needle.
Gifting and Selling Your Crochet Shopper Bags
These bags make wonderful gifts for:
- Birthdays
- Baby showers (fill them with baby items!)
- Teachers
- Bridesmaids (especially in neutral or coordinated colors)
If you’re thinking about selling:
- Offer different sizes and handle lengths
- Make themed versions for markets (e.g., sunflower bags in summer, warm hues in fall)
- Add brand tags or care instructions for a professional touch
Troubleshooting and Tips for Success
Here are common issues and how to fix them:
Bag Feels Too Stretchy:
- Use tighter tension or smaller hook
- Add a lining
- Reinforce top edge with additional rows
Base Doesn’t Lay Flat:
- You may be increasing too quickly or too slowly. Try adjusting the increase pattern and blocking.
Handles Are Uneven:
- Count stitches between handles to ensure they match. Use stitch markers!
Bag Looks Slouchy:
- That’s part of the charm—but if it bothers you, try stiffer yarn or add an interfacing layer inside.
Pattern Variations to Try Next
Once you’ve mastered this basic shopper, level up with these ideas:
Lattice Lace Shopper: Use taller mesh stitches like tr and ch-2 spaces for a lacy look.
Granny Square Shopper: Make panels from classic granny squares and join them for a retro-inspired bag.
Fold-Over Tote: Work a taller bag and fold the top down for a slouchy satchel feel. Add a wooden button and loop closure.
Drawstring Shopper: Replace the top rounds with eyelets and feed a cord through for a cinch-top look.
Video Tutorial:
Final Thoughts: A Bag That Grows With You
Crocheting your own shopper bag is more than just a weekend project—it’s an introduction to sustainable crafting, a creative outlet, and a skill you’ll use again and again. Once you’ve made one, you’ll likely make many. They’re addictive, useful, and deeply satisfying to complete.
Whether you’re making one for yourself or for someone else, every stitch is a reminder that handmade is powerful. You’ve got the knowledge, the tools, and the inspiration—now all that’s left is to start.
So grab your favorite yarn and hook, and let’s get crocheting. Happy stitching!
You may be interested:
- Tunisian Stitch Flower Crochet Bag: From Yarn to Style Statement
- Crochet Coaster Motif: A Step-by-Step Guide to Creating Beautiful Coasters
- How to Crochet a Charming Daisy Motif: A Step-by-Step Pattern
- How to Crochet a Simple & Easy Crochet Flower | Free pattern for Absolute Beginners


