There’s a reason why beanies are one of the most beloved knitting projects around. They’re stylish, cozy, endlessly customizable, and—best of all—fun to make! Whether you’re a complete beginner picking up needles for the first time or a seasoned knitter looking for a satisfying weekend project, a hand-knit beanie offers the perfect blend of simplicity and creativity.
This comprehensive tutorial will guide you step-by-step through making your own easy knitted beanie, complete with material guides, stitch explanations, customization ideas, troubleshooting tips, and everything else you need to confidently craft a cozy hat you’ll wear or gift with pride.
So grab your yarn, cozy up with a cup of tea, and let’s get stitching!

Why Knit a Beanie?
Before we dive into the stitches and rows, let’s explore why a beanie is such a fantastic project—especially for those just getting into knitting.
1. Quick and Gratifying
A beanie can be completed in a day or two, especially if you’re using chunky yarn. This instant gratification makes it the perfect weekend project.
2. Minimal Materials Required
You don’t need a ton of fancy tools or expensive supplies. Just yarn, needles, and a tapestry needle will do the trick.
3. Skill-Building Without the Pressure
Beanies allow you to practice essential knitting techniques—like casting on, knit and purl stitches, ribbing, and shaping—without the overwhelming scale of a sweater.
4. Stylish and Functional
Hand-knit beanies are versatile wardrobe staples. You can create slouchy hats, fitted skullcaps, pom-pom toppers, or even colorwork masterpieces.
5. Great Gift Idea
Everyone loves a cozy handmade hat! It’s a thoughtful, heartfelt gift that’s both practical and fashionable.
Understanding Beanie Construction
Let’s break down the typical beanie structure before jumping into our pattern.
1. The Brim
This is the stretchy edge that hugs your forehead. It’s usually worked in a rib stitch to help it stay snug.
2. The Body
The body of the beanie is the largest section. It can be made in stockinette stitch, garter stitch, or with decorative elements like cables or lace.
3. The Crown
This is the top portion where you decrease stitches gradually to shape the hat’s closure. You can cinch it closed or use a pom-pom for flair.
4. The Seams (or Lack Thereof)
Some beanies are worked flat and sewn up at the end. Others are knit in the round, resulting in a seamless finish. We’ll explore both.
What You’ll Need
Here’s everything you need to knit your first beanie:
Yarn
Choose a soft, medium-weight yarn for your first beanie. Acrylics, wool blends, or cotton yarns work beautifully.
- Yarn weight: Worsted (Medium/Category 4)
- Yardage: About 150–200 yards for one adult-sized beanie
Knitting Needles
You have two choices:
- Straight needles – good for knitting flat (we’ll show a flat-knit beanie)
- Circular needles – great for knitting in the round, creates a seamless finish
Recommended Size: US Size 8 (5.0 mm)
Notions
- Tapestry needle
- Stitch markers (if knitting in the round)
- Scissors
- Measuring tape
- Optional: Pom-pom maker
Techniques You’ll Learn
Don’t worry if you’re a beginner. This tutorial teaches:
- Casting on
- Knit stitch
- Purl stitch
- Ribbing (K1, P1 or K2, P2)
- Decreasing (K2tog)
- Binding off
- Seaming (if knitting flat)
Now, let’s get started with the actual project!
Easy Flat-Knit Beanie Pattern (Beginner-Friendly)
Let’s begin with a version that uses straight needles. This is perfect if you’re new to knitting or don’t yet feel comfortable knitting in the round.
Sizing
This pattern creates a stretchy beanie that fits most adults. Adjust the width by casting on more or fewer stitches in multiples of your ribbing pattern.
Gauge
18 stitches and 24 rows = 4” in stockinette stitch
Abbreviations
- CO = Cast on
- K = Knit
- P = Purl
- K2tog = Knit 2 together
- St(s) = Stitch(es)
- BO = Bind off
Instructions
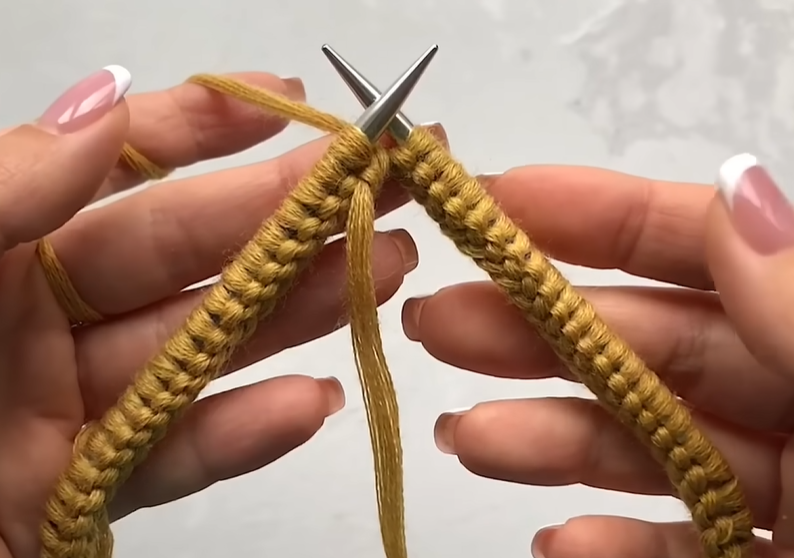
Step 1: Cast On
CO 76 stitches using a stretchy cast-on method like the Long Tail Cast On.
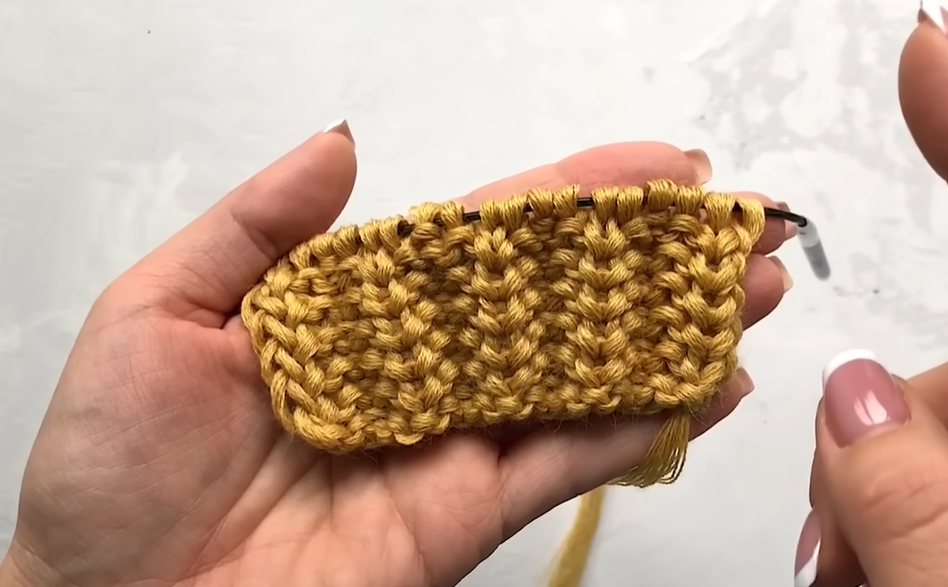
Step 2: Knit the Brim
Work in K2, P2 ribbing for 2.5 inches (about 20 rows). This will be the brim that stretches comfortably around your head.
Step 3: Knit the Body
Switch to stockinette stitch (knit one row, purl the next) for the next 5 to 6 inches. This will form the main part of the hat.
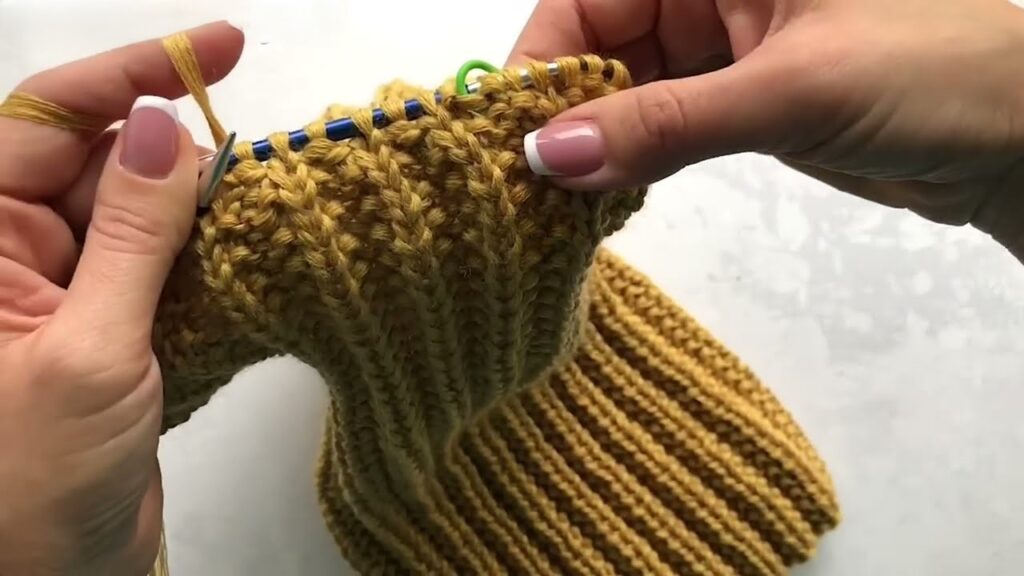
Step 4: Shape the Crown
Start decreasing:
- Row 1 (RS): K6, K2tog to end of row
- Row 2 (WS): Purl
- Row 3: K5, K2tog to end
- Row 4: Purl
- Row 5: K4, K2tog to end
- Continue this pattern (decreasing 1 stitch between each K2tog) until you’re down to 10–12 stitches.
Step 5: Bind Off
Cut the yarn, leaving a long tail. Thread it through the remaining stitches with a tapestry needle and pull tight to close the top of the beanie.
Step 6: Seaming
Fold the piece in half, right sides facing. Use mattress stitch to sew up the side seam neatly.
Turn it inside out — your beanie is done!
Optional Finishing Touch
Add a pom-pom to the top using leftover yarn or a contrasting color for some fun flair!
Easy Seamless Beanie (Circular Needles)
Once you’re comfortable, try knitting a beanie in the round. This creates a smooth, continuous shape with no seaming required.
Materials
- 16” Circular needles, US 8 (5.0 mm)
- Set of 4 double-pointed needles (for decreasing rounds)
Pattern
- CO 80 stitches
- Join to knit in the round, placing a stitch marker to mark the beginning
- Work K1, P1 ribbing for 2 inches
- Switch to stockinette (knit every round) for 5 inches
- Decrease using the same crown shaping method above
- Use DPNs when the stitch count gets too small for circular needles
- Finish with the drawstring bind-off and optional pom-pom


Troubleshooting Common Beanie Problems
Let’s fix some issues that new knitters often run into:
My Beanie is Too Tight
Try casting on more stitches or using larger needles. Ribbing helps the brim stretch, but too few stitches will squeeze your head.
My Beanie is Too Loose
Use smaller needles or decrease your stitch count. You want the beanie to stay on without slipping.
My Seam Looks Bulky
Use the mattress stitch and always seam on the wrong side. Flatten your seam with gentle blocking.
My Yarn is Splitting
Choose a yarn with good twist. Acrylics and plied yarns are usually more forgiving for beginners.
Customization Ideas
Once you’ve nailed the basic pattern, the fun really begins! Here’s how you can personalize your beanie:
Use Colorwork
Add stripes or try fair isle knitting for a pop of contrast.
Add Cables or Lace
Once you’re confident, add decorative stitches for visual interest.
Make it Slouchy
Simply knit more rows in the body before shaping the crown for a relaxed fit.
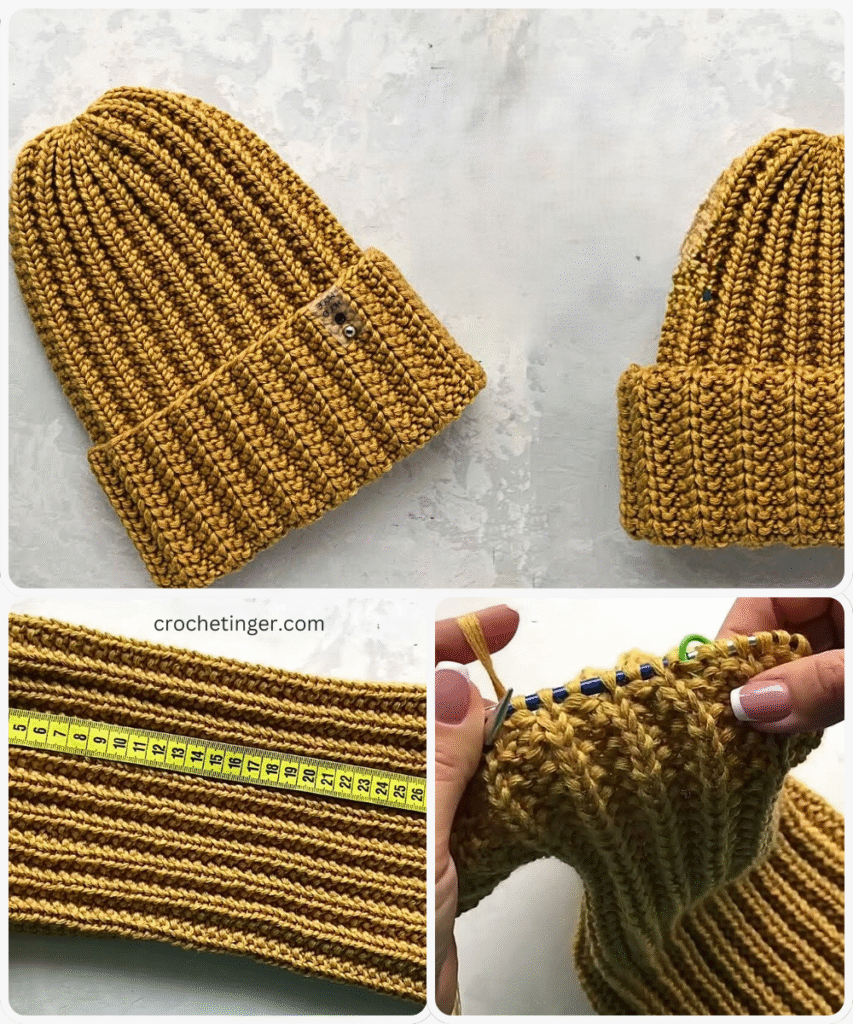
Add a Fold-Over Brim
Double the ribbing section for a classic, cozy look.
Attach Faux Fur or Yarn Pom-Poms
A pom-pom is the cherry on top of your beanie masterpiece.
Yarn Recommendations by Season
Different seasons call for different fibers. Here’s a handy guide:
Winter
- Wool, alpaca, or wool blends
- Warm, breathable, and perfect for cold weather
Spring/Fall
- Cotton-wool blends or light acrylics
- Great for transitional weather
Summer
- 100% cotton or bamboo yarn
- Lightweight and breathable
Caring for Your Handmade Beanie
To make your hat last, follow these simple care tips:
- Hand wash in cool water with mild soap
- Lay flat to dry to avoid stretching
- Avoid the dryer unless your yarn is machine-wash safe
Store in a drawer or basket away from sunlight and moisture.
Beanie Knitting as a Side Hustle
Once you master your beanie-making skills, why not turn your hobby into a business?
- Sell beanies on Etsy, craft fairs, or social media
- Offer custom color or size options
- Bundle matching beanies with scarves or mittens
- Donate to shelters or charities during winter
Handmade beanies are in constant demand—everyone needs a warm hat, and nothing beats the love that goes into a handmade one.
Video Tutorial:
Final Thoughts: Knitting Warmth and Joy
Knitting a beanie is more than just creating something to wear. It’s about slowing down, practicing mindfulness, and producing something tangible with your own two hands. Every stitch is a small act of care, whether for yourself or someone else.
By following this easy beanie tutorial, you’ve taken a major step in your knitting journey. From choosing yarn to binding off that last stitch, you’ve made something unique and special. The best part? You can make more—dozens more—and refine your skills each time.
So wear your beanie with pride, knowing it’s a warm hug you crafted from a strand of yarn.
You may be interested:
- Crochet Women Cardigan: A Complete Step-by-Step Guide
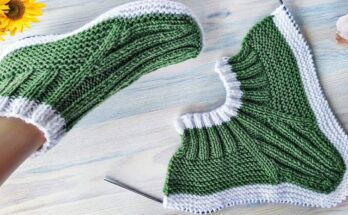
- Easy Knitted Slipper Socks You Can Make
- How to Crochet a Charming Daisy Motif: A Step-by-Step Pattern
- Crochet Lace Waves Motif