
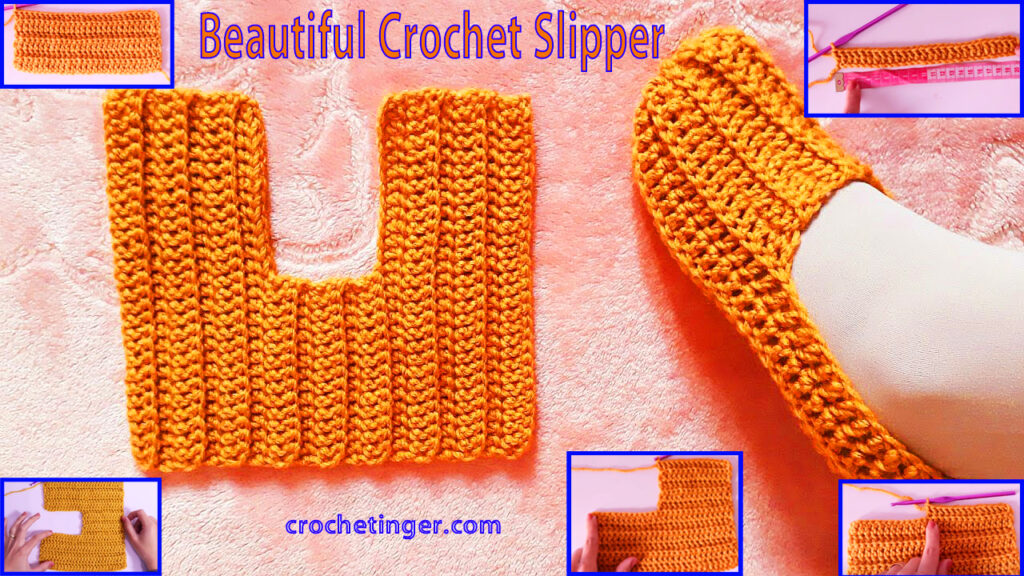
Crocheting a beautiful slipper is a delightful project that combines creativity with functionality. Whether you’re an experienced crocheter or just starting your crafting journey, this step-by-step guide will help you create a stunning slipper that’s not only cozy but also a work of art. Grab your crochet hook and some yarn, and let’s get started on this fantastic DIY adventure.
Skill Level: Beginner
Materials You’ll Need
Before we dive into the crocheting process, gather the following materials:
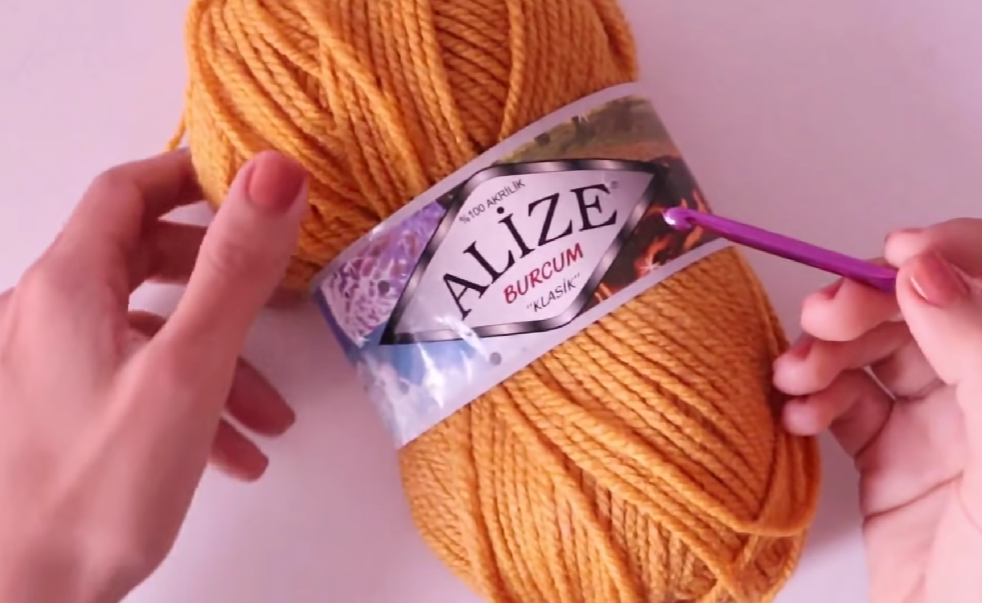
- Yarn: Select a soft and comfortable yarn of your favorite color. Worsted-weight yarn works well for slippers.
- Crochet Hook: Select an appropriate hook size that complements your yarn. Usually, a size G (4.0 mm) or H (5.0 mm) hook works well for worsted-weight yarn.
- Scissors: You’ll need these to cut your yarn.
- Yarn Needle: A yarn needle will help you weave in loose ends.
- Stitch Markers: These will be handy for keeping track of your stitches.
Now, let’s get started with the crochet pattern.
Pattern:
Gather Your Materials
Yarn Selection
The first step in creating beautiful crochet slippers is selecting the right yarn. Choose a soft and comfortable yarn in your favorite color. Worsted weight yarn is an excellent choice for slippers as it offers a good balance of warmth and durability.
Crochet Hook
Next, you’ll need an appropriate crochet hook. Typically, a size G (4.0 mm) or H (5.0 mm) hook works well with worsted-weight yarn. Ensure that your hook complements your chosen yarn for the best results.

Scissors, Yarn Needle, and Stitch Markers
To complete your toolkit, grab a pair of scissors for cutting yarn, a yarn needle for weaving in loose ends, and some stitch markers. Stitch markers are invaluable for keeping track of your stitches, especially when shaping the slipper.
Creating the Sole
Starting with a Slip Knot
Begin your crochet adventure by creating a slip knot at the end of your yarn. Slide your crochet hook through the loop and tighten it securely around the hook. This forms the starting point for your slipper.
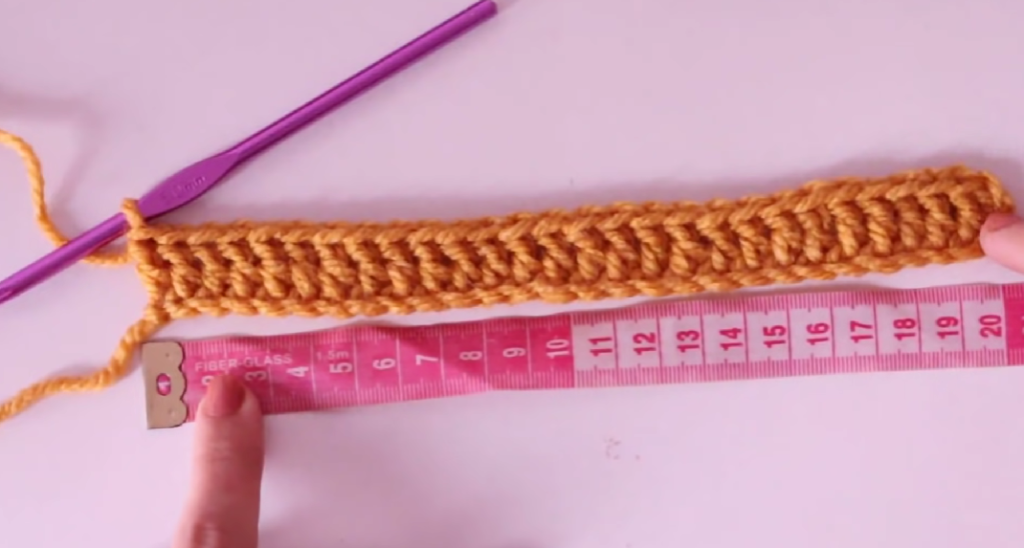
Chaining for the Sole
Now, it’s time to create the sole of your slipper. Make a chain of stitches, the number of which depends on the width you desire for the sole. A typical range is 10-12 chains to provide a comfortable base for your foot.
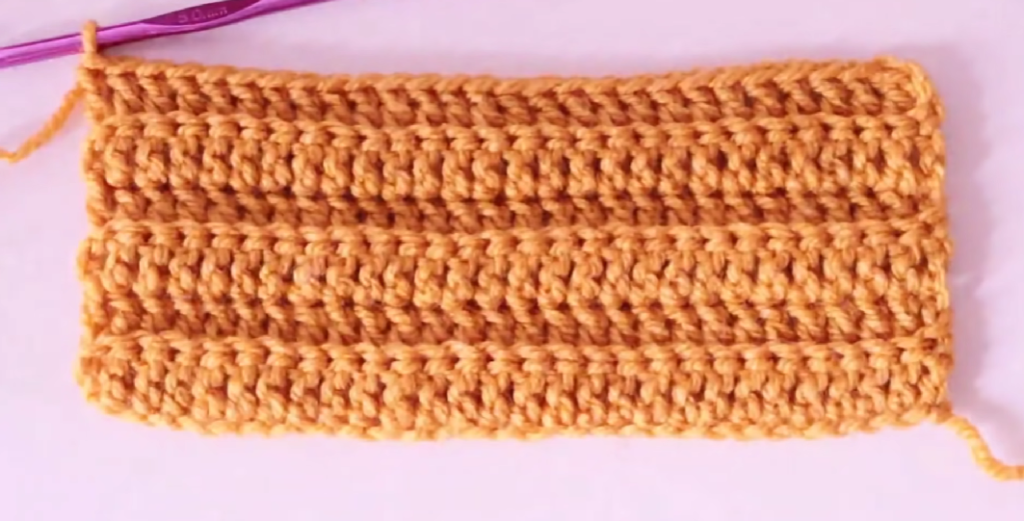
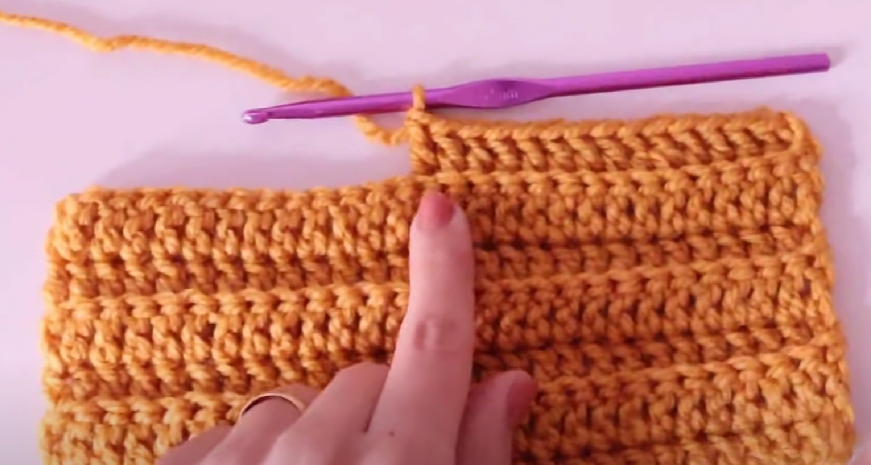
Single Crochet Rows
With the foundation chains in place, start crocheting single stitches into these chains. Continue crocheting in rows until your work matches the length of your foot from the heel to the tip of your toes. Remember to chain one at the end of each row and turn your work.
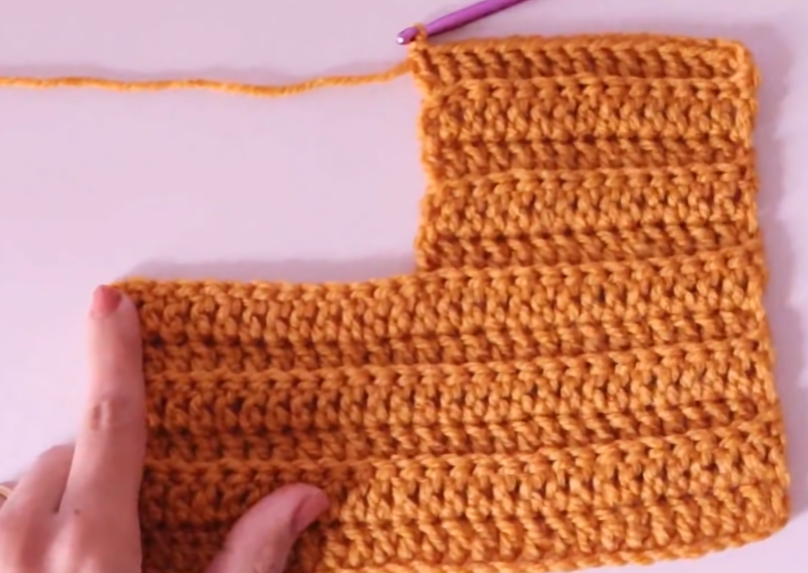
Shaping the Slipper
Closing the Heel
Once you’ve reached the desired length for your sole, fold your work in half, aligning the sides. Now, single crochet through both layers to close the heel of the slipper securely. This will ensure a snug fit for your heel.
Working on the Toe
With the heel secured, continue crocheting around the toe area. Gradually decrease the number of stitches as you go to create a rounded shape. Employ your trusty stitch markers to help you keep track of your decreases for symmetry.
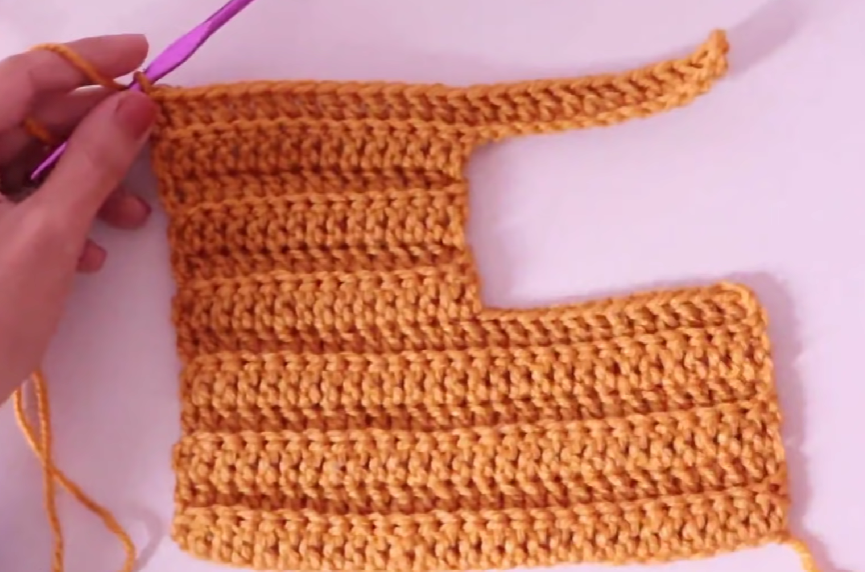
Crafting the Upper Part
Crocheting in Rounds
Having shaped the toe, it’s time to create the upper part of your slipper. Continue crocheting in rounds, working upwards. This part allows for creativity—feel free to experiment with different stitch patterns and colors to add a personalized and decorative touch.
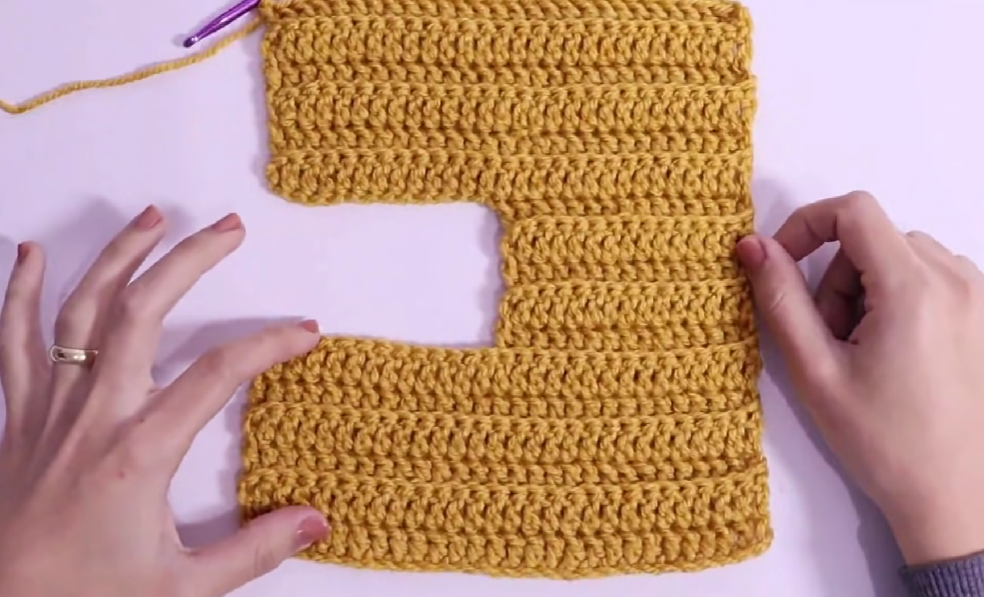
Experimenting with Stitch Patterns
The upper part of your slipper is a canvas for creativity. Explore various stitch patterns like shells, fans, or even surface crochet to give your slippers a unique look. Select colors that complement your style and personality.
Adding Decorative Touches
To make your slippers truly BEAUTIFUL, consider adding embellishments. Crochet flowers, bows, or buttons can be stitched onto the upper part to make your slippers stand out.
Finishing Touches
Weaving in Loose Ends
As you complete your crochet masterpiece, you’ll likely have some loose ends. Use a yarn needle to weave these ends into the fabric, ensuring a tidy finish. This step also helps to secure your work.
Trimming Excess Yarn
Trim any excess yarn carefully to give your slippers a polished appearance. Be cautious not to cut into your stitches, as this can unravel your hard work.
Repeat for the Second Slipper
Ensure you repeat all the steps above to create a matching slipper for your other foot. Consistency is key to achieving a comfortable and symmetrical pair.
Step By Step Guide:
Step 1: Start with a Slip Knot
Begin by creating a slip knot at the end of your yarn. Slide your crochet hook through the loop and tighten it around the hook. This will be the starting point for your slipper.
Step 2: Chain Stitch for Sole
Make a chain of stitches to create the sole of your slipper. The number of chains will depend on the size of your foot and the desired slipper size. Typically, you’ll need around 10-12 chains for the width of the sole.
Step 3: Single Crochet Rows
Now, start crocheting single stitches into the chains you just made. Continue crocheting in rows until the piece matches the length of your foot from the heel to the tip of your toes. Remember to chain one at the end of each row and turn your work.
Step 4: Shaping the Slipper
Once you’ve reached the desired length, it’s time to shape the slipper. Fold your work in half, aligning the sides, and single crochet through both layers to close the heel of the slipper. Continue crocheting around the toe area, gradually decreasing the number of stitches to form a rounded shape. Use stitch markers to keep track of your decreases.
Step 5: Creating the Upper Part
After shaping the toe, continue crocheting in rounds, working upwards to create the upper part of the slipper. You can experiment with different stitch patterns and colors to add a decorative touch.
Step 6: Finishing Touches
When the upper part reaches the desired height, finish off your work and weave in any loose ends using a yarn needle. Trim any excess yarn.
Step 7: Repeat for the Second Slipper
Repeat all the steps above to create a matching slipper for your other foot.
Video tutorial:
Conclusion:
Crocheting a beautiful pair of slippers is a rewarding and creative endeavor. By following this step-by-step guide, you can craft a pair that not only keeps your feet warm and comfortable but also showcases your crochet skills. Experiment with different yarn colors and stitch patterns to create slippers that are uniquely yours. Enjoy your cozy, handmade footwear!
You may be interested:
- How to Crochet a Gorgeous Red Rose: A Step-by-Step Guide
- Crochet baby blanket cardigan design – Free Pattern
- CROCHET SQUARE WITH DIFFERENT HIGHLIGHTS – Free Pattern
- How to Crochet a Round Crochet Model with a Different Beak


