
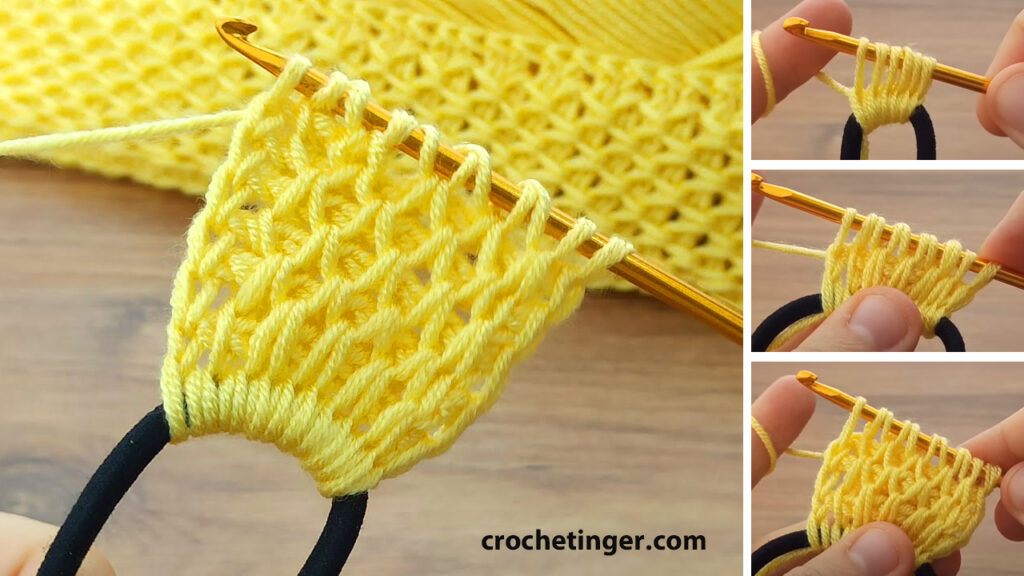
Crocheting is an art that allows you to turn simple yarn into beautiful and functional pieces. One such creative project is to make a chain headband. This stylish accessory can effortlessly elevate your look and add a personal touch to your style. In this step-by-step guide, we’ll walk you through the process of crocheting a chic chain hair tie that’s perfect for both casual and formal occasions.
Skill Level: Beginner
Materials You’ll Need:
- Crochet hook (size appropriate for your yarn)
- Yarn of your choice (preferably a soft, comfortable material)
- Scissors
- Tapestry needle (for weaving in loose ends)
Abbreviations:
- CH: Chain
- ST: Stitch
Step-by-Step Guide 1:
Step 1: Gather Your Materials
Ensure you’ve gathered all the essential materials before beginning. Select a yarn shade that harmonizes with your personal style or attire, and opt for a hook that aligns with the yarn’s weight.
Step 2: Create a Slip Knot
Begin by creating a slip knot at the end of the yarn, making sure there’s a loose strand of around 6 inches (15 cm) for weaving in later.
Step 3: Insert Your Crochet Hook
Place your crochet hook into the loop of the slip knot and secure the loop around the hook. Grasp the yarn tail and the yarn connected to the skein using your non-dominant hand.
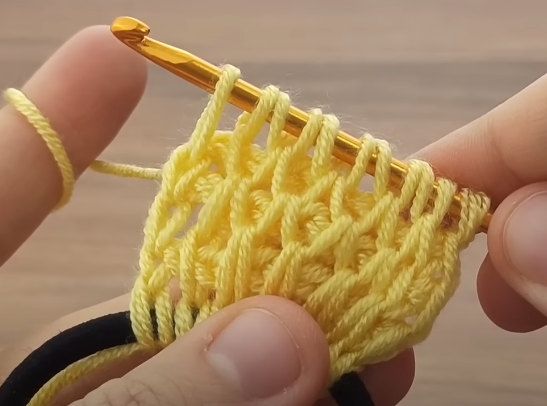
Step 4: Begin Crocheting the Chain
To craft the strand for your hair accessory, you will effortlessly fashion a sequence of linked stitches. For the initial stitch, enfold the yarn over the hook in a reverse-to-front motion, then draw it through the loop of the slip knot. This produces a single-chain stitch.
Step 5: Continue the Chain
Reiterate the procedure of yarning over and drawing the yarn through the loop on the hook to fabricate extra chain stitches. The quantity of chain stitches you craft will ascertain the extent of your hair band. Gauge the chain against your head to guarantee it is the preferred length. Keep in mind that the hairband ought to possess a subtle elasticity to ensure a snug and pleasant fit.
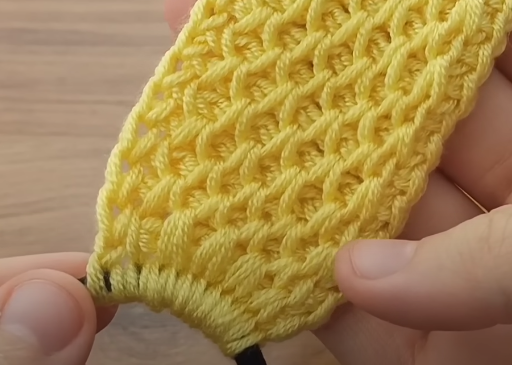
Step 6: Finish and Secure
After attaining the preferred length, sever the yarn, allowing a tail of roughly 6 inches (15 cm). Meticulously draw the yarn tail through the ultimate loop on your hook to fasten the chain. At this point, you have successfully concluded the crocheting segment of your hair band.
Step 7: Weave in Loose Ends
Utilizing a tapestry needle, thread the dangling yarn tails through the fabric to firmly fasten them. This guarantees the durability and tidy appearance of your hair accessory.
Step 8: Join the Ends (Optional)
If you prefer a seamless look, you can join the two ends of the chain together using a slip stitch. Insert your hook through the first chain stitch and the last chain stitch, yarn over, and pull the yarn through both loops on the hook. This action will generate a small loop that fully links the extremities of the chain.
Step 9: Final Touches
Once you’ve joined the ends (if desired), trim any excess yarn and weave in the end to complete your chain hair band. Your elegant and handmade hair accessory is now ready to wear!
Step-by-Step Guide 2:
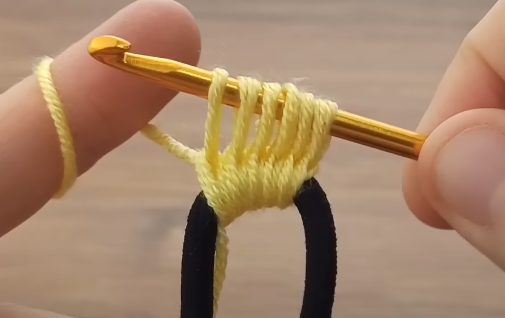
Step 1: Creating the Foundation Chain
- Begin by creating a slip knot onto your crochet hook.
- Place the hook through the loop formed by the slip knot.
- Yarn over (YO) by bringing the working yarn over the hook from the back to the front.
- Pull the yarn through the loop on the hook to create a new loop (this is your first chain stitch).
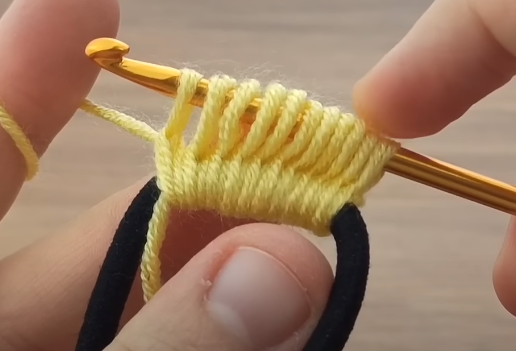
- Repeat steps 3 and 4 for the desired number of chain stitches. The number of chains will determine the width of your hair band. A typical hair band might require around 50-60 chains, depending on the size of the head.
Step 2: Joining the Chain
- After you’ve made the desired number of chain stitches, carefully bring the two ends of the chain together to form a loop.
- Insert your hook into the first chain stitch you made (the one closest to the hook).
- Yarn over and pull the yarn through both the loop on your hook and the loop on the chain stitch, creating a slip stitch. This slip stitch joins the ends of the chain into a circle.
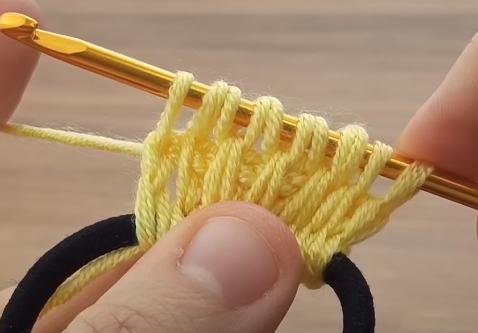
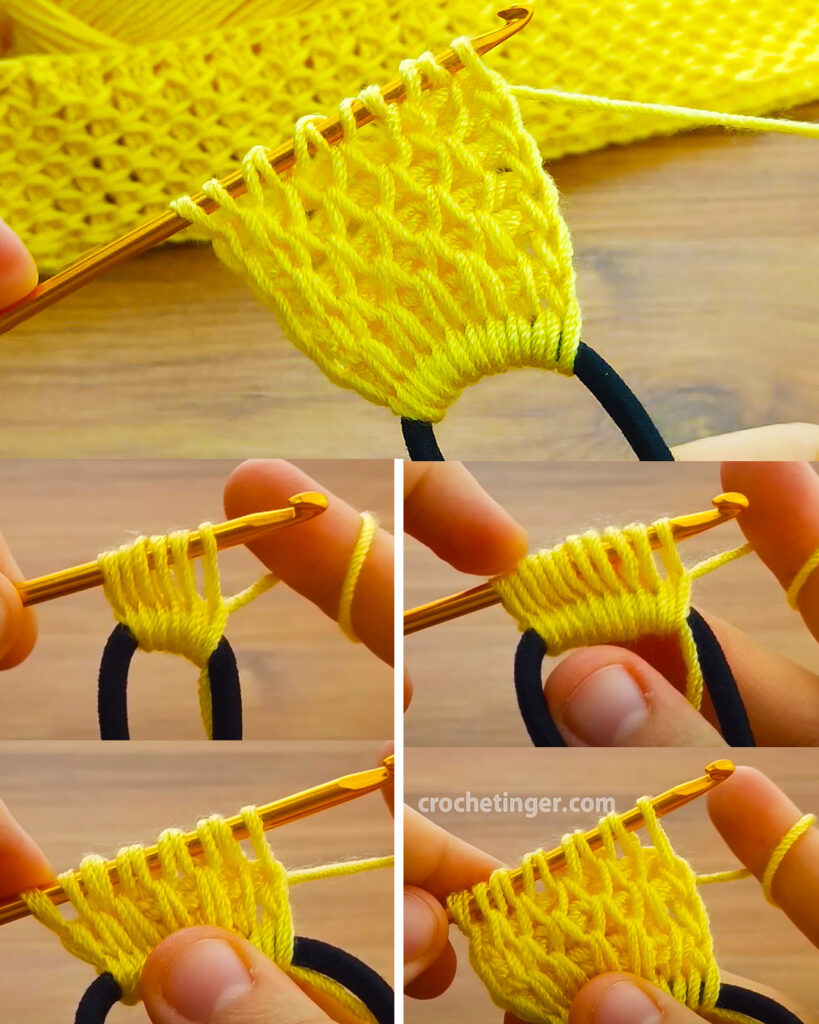
Step 3: Continuing with the Chain Stitch
- Yarn over and pull the yarn through the loop on your hook, creating a new chain stitch. This step begins the first row of your hair band.
- Continue to make chain stitches one after another until you have reached the desired height for your hair band. To determine the number of rows you need, you can wrap the chain around your head to check for fit. Remember that the chain stitch has some stretch, so you don’t want it to be too tight.
Step 4: Finishing Off
- Once you’ve reached the desired height, cut the yarn, leaving a tail of about 6 inches.
- Yarn over and pull the tail through the last chain stitch to secure it.
- Use the tapestry needle to weave in the loose ends of yarn to ensure they don’t unravel.
Optional Embellishments:
- You can add a small crochet flower, a bow, or even a button to the front of your hair band to personalize it further.
- Experiment with different yarn colors to create a striped or ombre effect.
Video tutorial:
Conclusion:
Crocheting a chain hair band is a fantastic way to showcase your crafting skills and add a personalized touch to your style. With a little practice, you can create a variety of hair bands in different colors and lengths. This project not only offers a sense of accomplishment but also gives you a functional accessory that’s perfect for casual or formal occasions. So, gather your materials, follow the steps, and enjoy the process of creating your very own crochet chain hair band!
You may be interested:
- How to Create a Delightful Stitch for a Baby Blanket – Free Pattern
- Crochet baby blanket cardigan design – Free Pattern
- How To Crochet A Round Crochet Template with Two Lines in One – Free Pattern
- How to Crochet a Charming Daisy Motif: A Step-by-Step Pattern


One Comment on “How to Crochet Hair Band with Chain Stitch – Free Pattern”